Panorama Photography
In its most general sense, a panorama is any wide view of a physical space. It has also come to refer to a wide-angle representation of such a view — whether in painting, drawing, photography, film/video, or a three-dimensional model. Further, the motion-picture term, pan or panning, is derived from "panorama".
The word was originally coined by the Irish painter Robert Barker to describe his panoramic paintings of Edinburgh. Shown on a cylindrical surface and viewed from the inside, they were exhibited in London in 1792 as "The Panorama".
Click image for full size
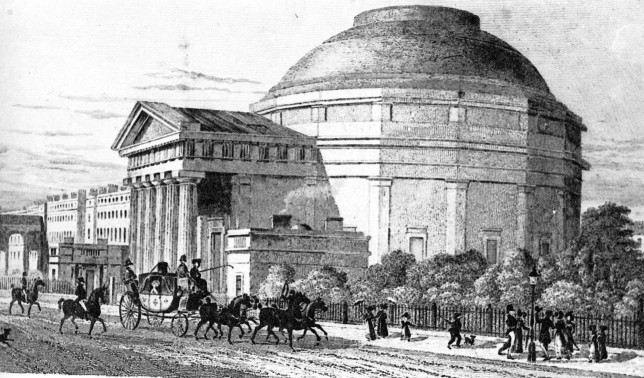


In the mid 19th century, panoramic paintings and models became a very popular way to represent landscapes and historical events. Audiences of Europe in this period were thrilled by the aspect of illusion, immersed in a winding 360 degree panorama and given the impression of standing in a new environment. The Dutch marine painter Hendrik Willem Mesdag created and established the Panorama Mesdag of The Hague, Netherlands, in 1881, a cylindrical painting more than 14 meters high and roughly 40 meters in diameter (120 meters in circumference). In the same year of 1881, the Bourbaki Panorama in Lucerne, Switzerland, which exhibits a circular painting, was created by Edouard Castres. The painting measures about 10 meters in height with a circumference of more than 100 meters. Another example would be the Atlanta Cyclorama, depicting the Civil War Battle of Atlanta. It was first displayed in 1887, and is 42 feet high by 358 feet wide.
![]()
Click image for full size
Panorama of Along the River During Ching Ming Festival, 18th century remake of a 12th century original by Chinese artist Zhang Zeduan

Panoramic photography soon came to displace painting as the most common method for creating wide views. Not long after the introduction of the Daguerreotype in 1839, photographers began assembling multiple images of a view into a single wide image. In the late 19th century, panoramic cameras using curved film holders employed clockwork drives to scan a line image in an arc to create an image over almost 180 degrees. Digital photography of the late twentieth century greatly simplified this assembly process, which is now known as image stitching. Such stitched images may even be fashioned into crude virtual reality movies, using one of many technologies such as Apple Computer's QuickTime VR or Java. A rotating line camera such as the Panoscan allows the capture of very high resolution panoramic images and eliminates the need for image stitching.
On rare occasions, panoramic, 360° movies have been constructed for specially designed display spaces — typically at theme parks, world's fairs, and museums. Starting in 1955, Disney has created 360° theaters for its parks and the Swiss Transport Museum in Lucerne, Switzerland, features a theater that is a large cylindrical space with an arrangement of screens whose bottom is several meters above the floor. Panoramic systems that are less than 360° around also exist. For example, Cinerama used a curved screen and IMAX movies are projected on a dome above the spectators.
Film Cameras
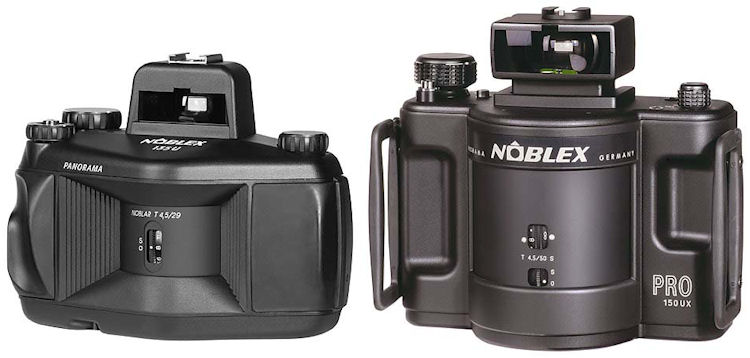
Noblex 135 (35mm roll film)
Noblex 150 and 175 (60mm roll film)
 |
 |
|
| 24 x 36 mm f'=28 mm |
24 x 66 mm |
 |
 |
|
| 60 x 60 mm f'=50 mm |
50 x 120 mm |
 |
|
| 50 x 170 mm |
![]()
![]()
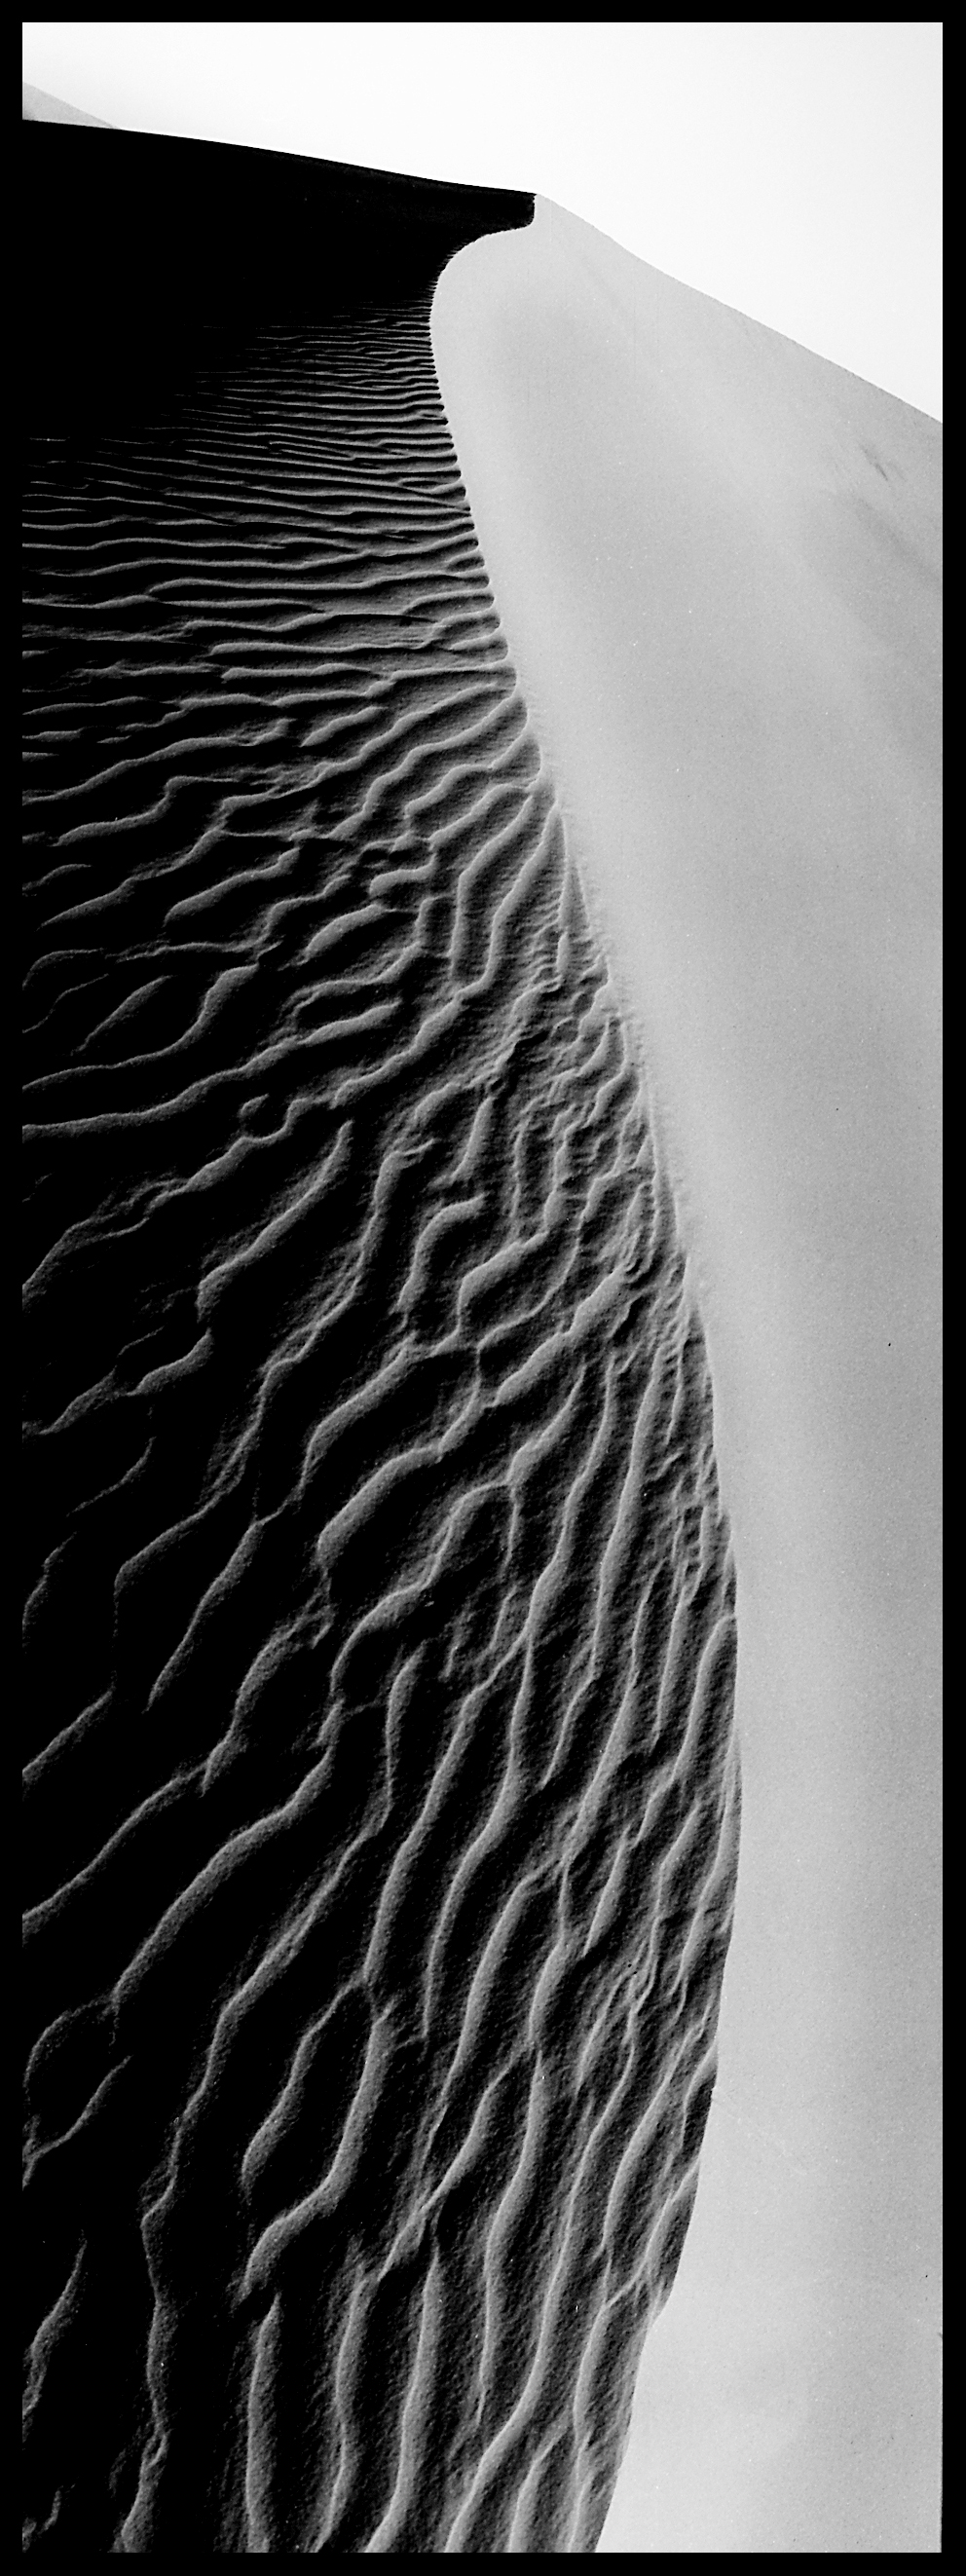
![]() Tomáš
Bican
Tomáš
Bican
http://commons.wikimedia.org/wiki/Category:Photographs_by_Tom%C3%A1%C5%A1_Bican
![]()
Shooting Considerations
Keep it Level: Place your camera on a tripod and level it. In addition to producing a better looking image you will find that you'll be able to maximize the amount of vertical space in the frame. Sloppy shooting leads to very narrow panels.
Shoot Vertically: Though it appears counterintuitive to shot vertically when shooting for panoramic images, it is a real benefit. You'll end up with more frames to stitch, but also less perspective distortion.
Overlap: When taking each successive frame overlap with the previous frame by about 25%—30%. This may seem wasteful, but you need the margin when lining up the frames in Photoshop.
Lock Focus & Exposure: Turn auto-exposure off. Take a representative exposure reading and don't change it for any of the frames. Also, except in special situations, turn off auto-focus and leave the focus setting uncharged between frames. Image size actually changes with focus shift and you'll have a hell of a time trying to get alignment, in addition to other problems.
If your digital camera has auto-white balance, turn this off and set the white balance manually.
Don't Use a Polarizer: Anything wider than the coverage of a 28mm lens and the use of a polarizer will produce an uneven sky. If you use one on frames intended to be stitched, even if the angle of coverage is narrow, you'll end up with visible banding.
Identification: It's a good idea to identify the frames that are intended for a panoramic panel or other form of stitching at the time of shooting. What I do is to hold up my hand with fingers spread in front of the camera and take a frame. When I see an out-of-focus hand on-screen or among my slides I know that the frames that precede it are intended for a stitched panel. Otherwise after a long and productive shoot consisting of hundreds, if not a thousand or more frames, you may overlook what you originally intended.
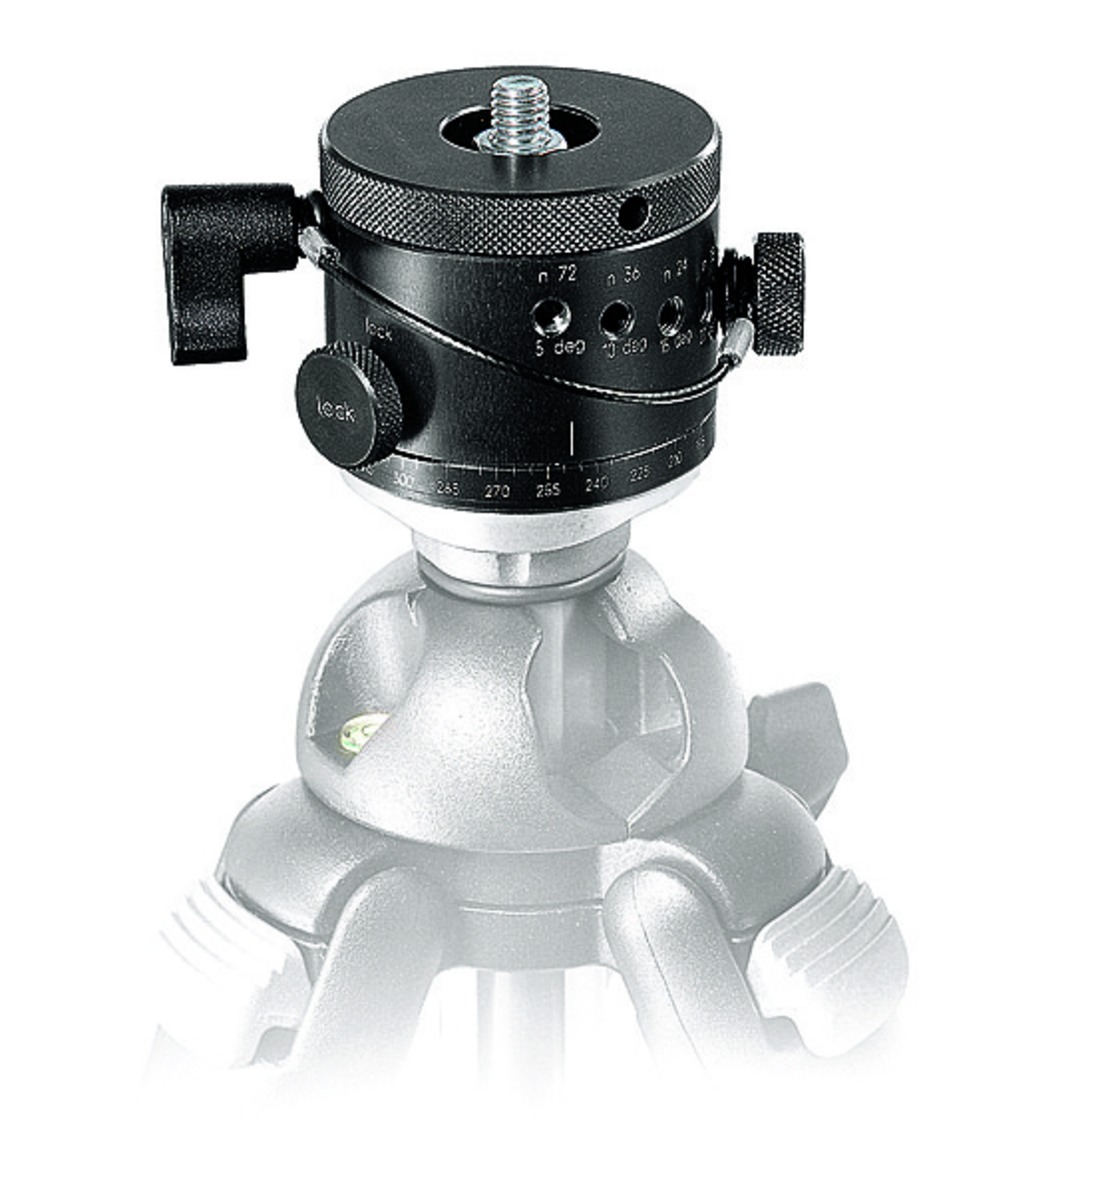
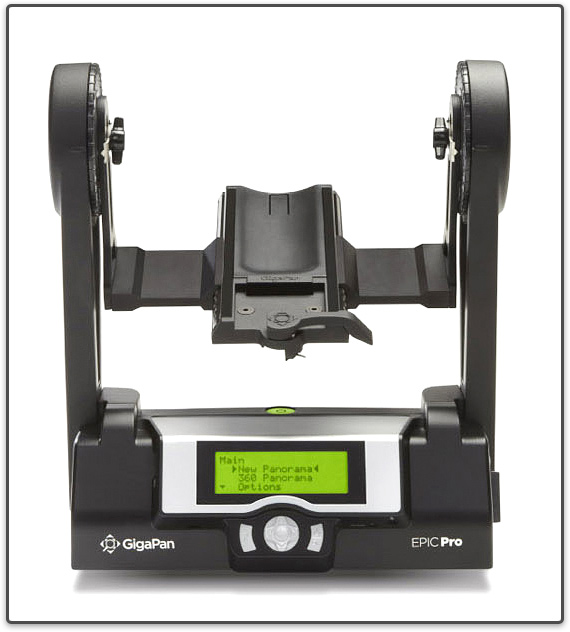
Panoramic Tripod Heads
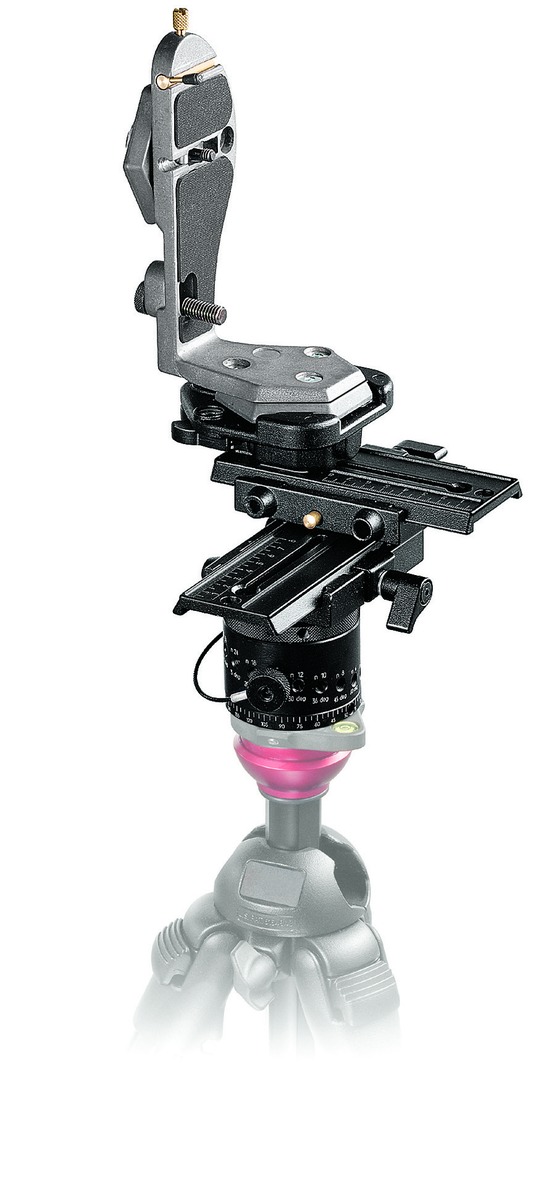
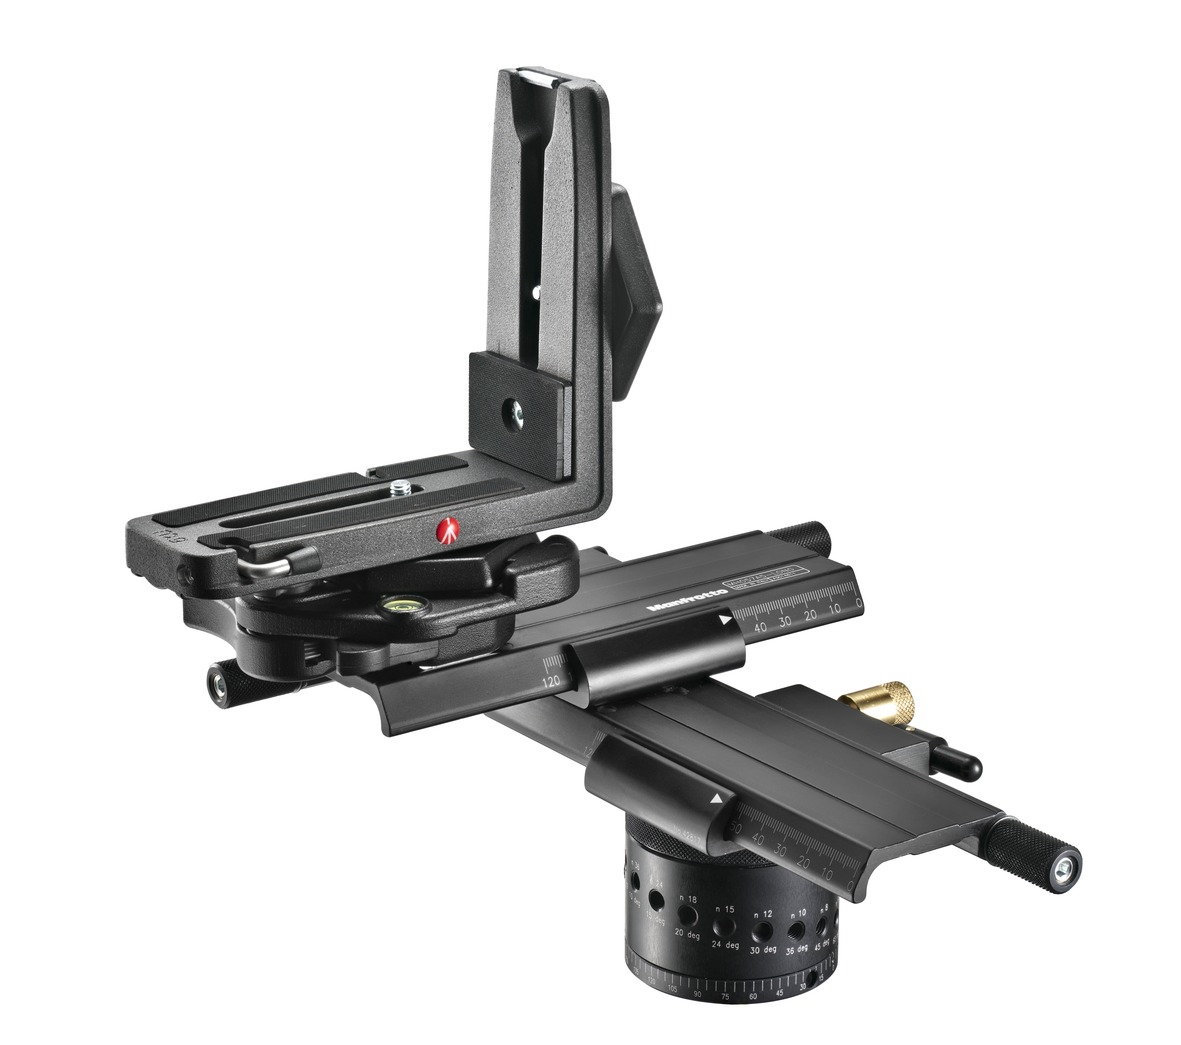

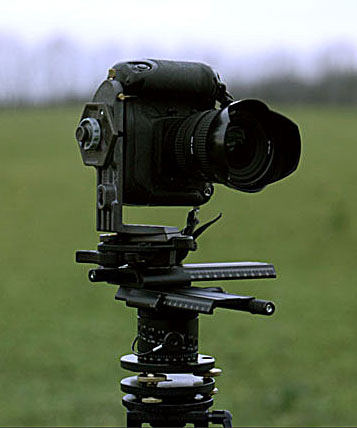
![]()
![]()
![]()
EPIC Pro Robotic Camera Mount
![]()

http://photosynth.net/default.aspx
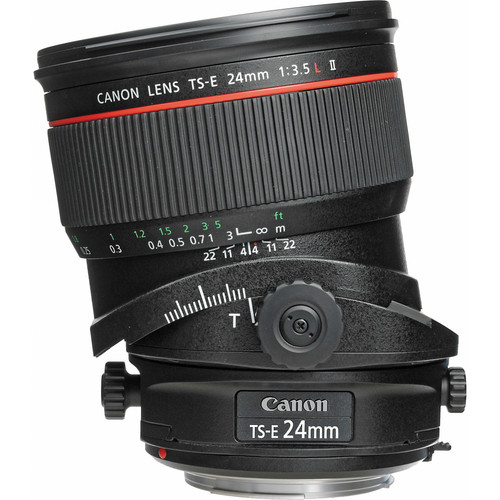
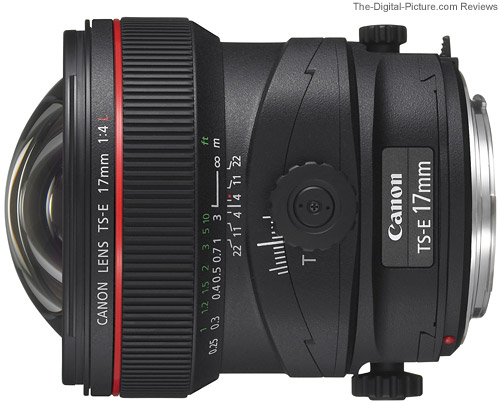
Tilt–Shift Lenses
Lens Image Circle
Whereas the image circle of a standard lens usually just covers the image frame, a lens that provides tilt or shift must allow for displacement of the lens axis from the center of the image frame, and consequently requires a larger image circle than a standard lens of the same focal length.
Since a Canon APS-C sensor is usually around 22.5x15mm, the diagonal width of the sensor is about 27mm. The diagonal width of a 36x24mm Full Frame (FF) sensor is a tad over 43mm. The EF-S lens only projects a circle just large enough to cover the 27mm diagonal width of the APS-C sensor. AN EF lens, on the other hand, must provide an image circle large enough to cover the 43mm diagonal width of a FF sensor.
22.2 mm × 14.8 mm APS-C sensor (Diagonal 26.70)
36 × 24 mm Full Frame Sensor (Diagonal 43.20)
53.7 x 40.2mm Medium Format Sensor (Diagonal 67.08)
TS-E 24 mm &17mm image circle 67.2mm
Field of view of TS-E 24 72 x 107mm and TS-E 17 168 x 251mm
Stitching with Tilt Shift Lenses to Create High Resolution Images!
![]()