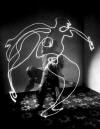
Take the approach of using the air in front of you as a canvas
and a flashlight as a drawing tool. Set up a DSLR camera in a dark
environment uncontaminated by extraneous light. Place the camera on a
sturdy tripod to eliminate movement. Draw with a small bright flashlight
by shining it directly at the camera while moving it in front of the lens.
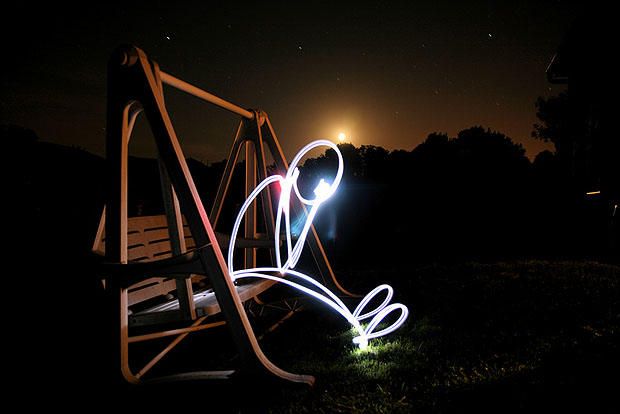
Try some gesture drawings. Use flowing arm movements to record gestures
suggesting outlines of people or objects.
Experiment with different camera settings to get the right look.
Use at least a 20-second exposure time. Step down your aperture until the
picture looks right. Allow a minute or more for more complex line
drawings. Shoot against an uncluttered or artfully arranged backdrop so
the light painting doesn't have to compete with a busy background. Take
several pictures to judge the correct exposure. Adjust your exposure
time up or down depending on how bright you want the light to appear.
Use a digital camera to be able to see and correct the results of
your technique. Make close-up light paintings or zoom out for larger
compositions. Run around within range of the camera, composing with your
flashlight. Don't hold the light in the same spot too long, or it will
show up too bright in the picture.
Make linear light drawings by using single lines of light to
define outlines. Use overlapping strokes of the flashlight for shaded or
smeared painterly affects. Try using fluid arm motions as you paint with
light. Write messages in the air, or place color filters over the
flashlight to punch up your pictures with bright, neon-like hues. Tape
colored paper or gels over the light's lens for different color affects.
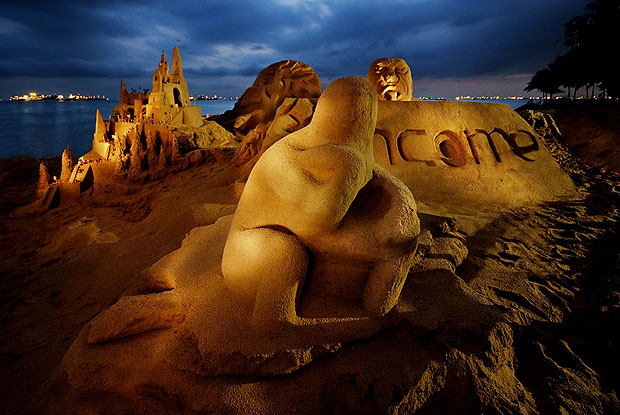
Use the illumination technique for an alternative approach to
painting with light by shooting outdoors when there's little or no natural
ambient light. Illuminate areas and objects of your scene with a wide-beam
flashlight while the shutter is open. Shine the flashlight on different
objects for a few seconds. Give each object the same illumination time.
Work for a surrealistic affect with this method.
Product like shot - In a
closed (dark) room place your product on a table and paint it's contour.
You can use several colors to make a strong effect or to draw different
(even imaginary) parts of your object.

Image by Rodrigo da Cunha
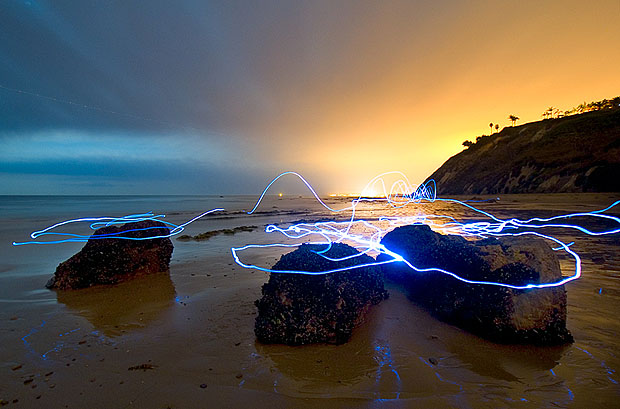
Location shot - find a
location with some ambient light. Find an object that is less "hit" by
that light. now you can use the ambient light to capture the background,
while painting the object with light. You will get a nice effect - with
some surreal foreground and a "normal" background. Also the white balance
will be different on ambient and painted - another cool side affect.

Image by hyper7pro
Environmental Graffiti - If
you are shooting a wall (or even on thin air...), you can scribe on the
wall. Make funny graffiti; Write huge love notes; Make a political
statement - there will be no trace left other then the one on your memory
card.

Image by Aitor


