Macro Photography
Taking close-up pictures of small things is called "macro photography.
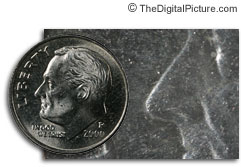 Dime
at 1x magnification over a Dime at 5x magnification
Dime
at 1x magnification over a Dime at 5x magnification
Using a special-purpose lens called a macro lens, having a long barrel for close
focusing. Some manufacturers call it a micro, which might actually be
scientifically more accurate, but can be confusing, since it goes against the
established convention.
In macro photography, it is important to know how large or small your subject appears on your camera sensor. Comparing this number versus your subject’s size in the real world gives you a value known as your magnification.
If that ratio is simply one-to-one, your subject is said to be at “life size” magnification. For example, if you’re photographing something that is one centimeter in length, and it is projected exactly one centimeter onto your camera sensor, it is at life size (regardless of the size of your camera sensor).
Typical sensors in DSLRs and mirrorless cameras range from about about 17 millimeters to 36 millimeters across. So, a 1 cm subject is pretty big by comparison, taking up a significant portion of your photo. If you end up making a large print, that tiny object will appear huge – potentially billboard sized!
To make things easier to understand and compare, macro photographers use an actual ratio rather than always saying “life size” or “half life size.” Specifically, life size is 1:1 magnification. Half life size is 1:2 magnification. Once you get to about one-tenth of life size, you arguably are not doing close-up or macro photography any more.
Good macro lenses let you shoot at 1:1 magnification, and some specialized options do even more than that. (Canon has a macro photography lens that goes all the way to 5:1, or 5x magnification, which is insane!) However, other lenses on the market called “macro” may only go to 1:2 magnification or even less. Personally, my recommendation is to get a lens that can go to at least 1:2 magnification, and ideally 1:1 magnification, if you want as much flexibility as possible.
There are different categories of macro lenses, depending on the focal length:
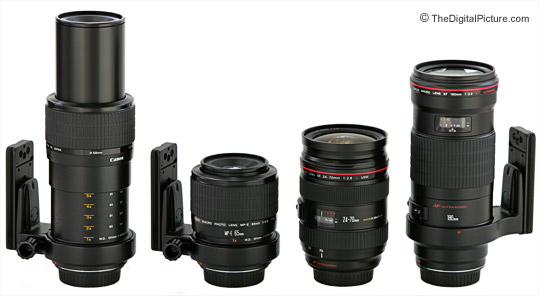
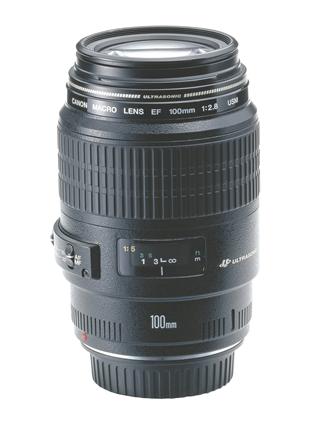
90–105mm range the standard focal range used for
insects, flowers, small objects
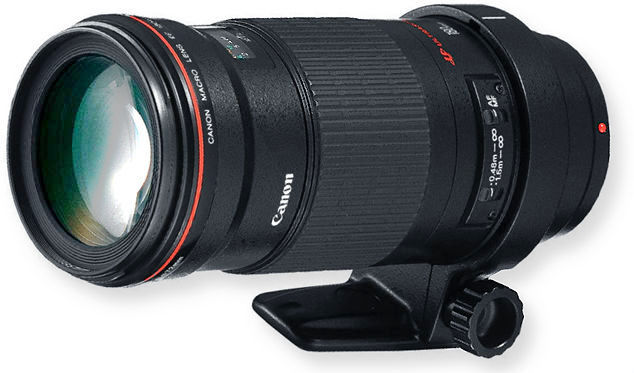
150–200mm range gives more working distance —
typically used for insects and other small animals
a few zooms provide a macro option, but they generally do not allow a 1:1
magnification
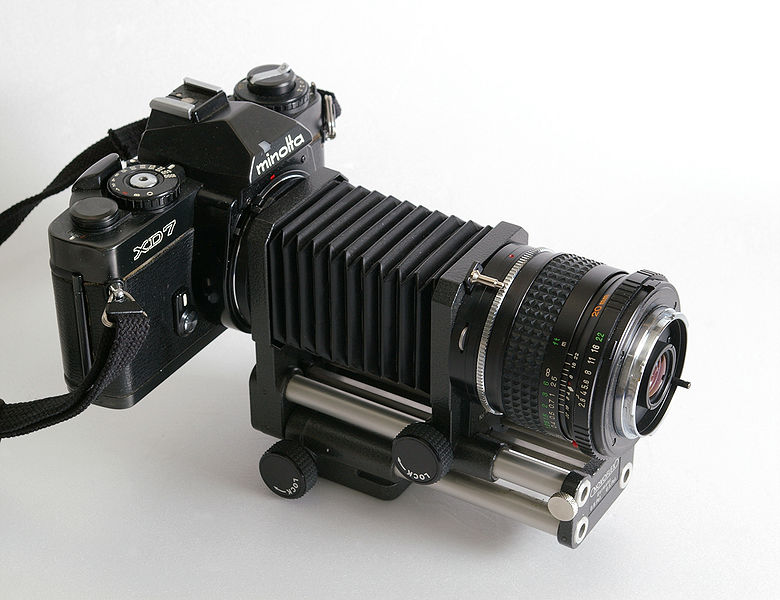
Placing an extension tube between the camera body and the lens. The tube has no glass in it; its sole purpose is to move the lens farther from the film or digital sensor. The farther the lens is from the film or sensor, the closer the focusing distance (and the greater the magnification) and the darker the image. Tubes of various lengths can be stacked together, allowing for increasing levels of magnification while simultaneously decreasing working distance. With tubes attached, the camera will lose the ability to focus to infinity.

Using a bellows attachment between the camera body and the lens to extend the lens to film plane distance. Similar to an extension tube, but adjustable.
50–60mm range typically used for product photography and small objects
Placing an auxiliary close-up lens in front of the camera's taking lens. Inexpensive screw-in or slip-on attachments provide close focusing at very low cost. The quality is variable, with some two-element versions being excellent while many inexpensive single element lenses exhibit chromatic aberration and reduced sharpness of the resulting image. This method works with cameras that have fixed lenses, and is commonly used with bridge cameras. These lenses add diopters to the optical power of the lens, decreasing the minimum focusing distance, and allowing the camera to get closer to the subject.

For non-macro photography, your subject won’t be especially close to your camera – maybe 5 or 6 meters, or even as far away as the horizon. At these distances, a normal aperture of f/8 or f/11 typically will render a sharp scene from front to back (aside from extreme telephoto shots, since telephotos have less depth of field).
Macro photography is different. When you take close-up photos, you naturally end up with very little depth of field, even at small aperture values. At 1:1 magnification, your depth of field may be so thin that you can’t get a fly’s head and feet both to appear sharp at the same time, even though they are just millimeters apart!
The thin depth of field is related to another challenge of macro photography: You don’t have much light. Why not? There are four main reasons why you’ll have to work with very little light in macro photography:
Method 1: Open Up Your Aperture
You may choose to live with a thin depth of field for your macro photography – to the point where you won’t be able to get an entire ant head to appear sharp at the same time. If that seems fine to you, just open your lens’s aperture as wide as possible (or only slightly stopped down – something from f/2.8 to f/5.6), and you’re set to take macro photos.
The benefit of this approach is that you don’t have to worry about complex lighting setups or software fixes to make your macro photos look good, since you’ll generally capture enough light to make things work. The downside is that it becomes nearly impossible to focus your lens handheld at the closest magnifications, since there is essentially no depth of field.
For that reason, this method works best if you are trying to take photos of subjects that are a bit larger, in the range of 1:4 to 1:10 magnification. However, I do not recommend it if you want to take life-size photos at 1:1 magnification.
Method 2: Stop Down and Use a tripodThe next method is to stop down the aperture to a small value...f/16 or f/22. The upside to using such a small aperture is that it is easier to get your subject to appear in focus and your depth of field becomes manageable.
With a depth of field of around one millimeter for precise macro work, camera positioning and focus become critical. If you have a good tripod and head, you'll find that you have at least 10 controls to adjust. Each of them will move the camera. None of them will move the camera along the axis that you care about.
That's why people buy macro focusing rails. These are little rack and pinions capable of moving the entire camera/lens assembly forward and back. You use the tripod to roughly position the camera/lens and then the macro rail to do fine positioning.
Macro Photography Composition TipsEven in macro photography, the basics of a pleasing composition remain the same. It is still important to balance the compositional weight of your frame, for example, and you have to exclude extraneous details from your image just as you always do. However, being macro photography, there are some aspects of composition which stand out more than they otherwise would.
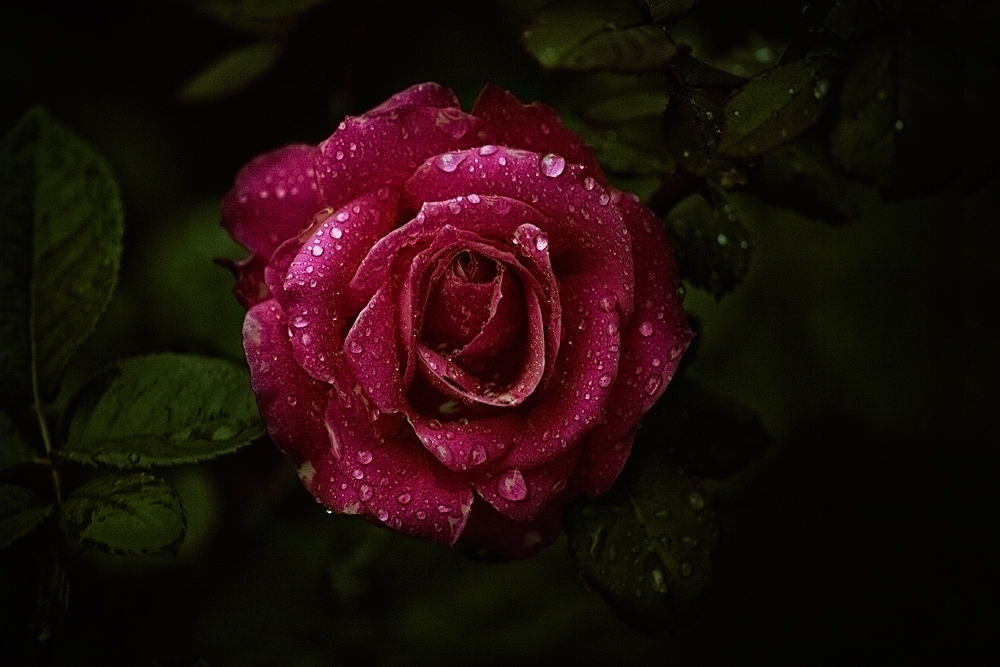
Pay Attention to the Out-of-Focus BackgroundOne of the main tips for composition in macro photography is to be aware of the background. Since the background will be far out of focus, it is important to make it look as good as possible and complement your subject. From a low angle, for example, you could get an out-of-focus blue sky in your photo. From a different perspective, your background could turn the color of autumn leaves.
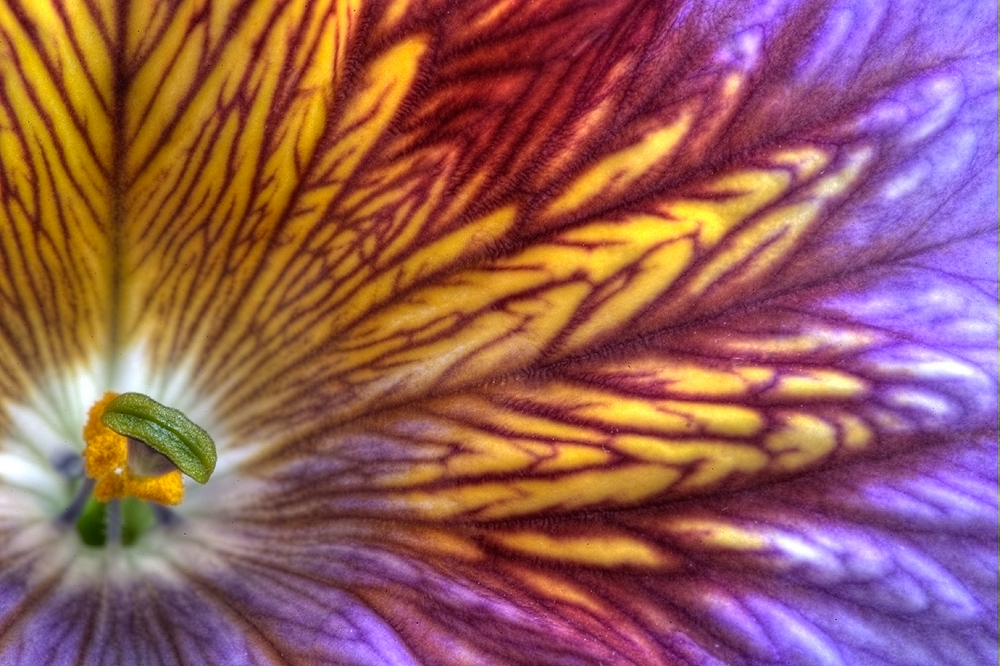
The Importance of Colors in Macro PhotographyLastly, with macro photography, colors are extremely pronounced. Shooting in your camera’s RAW format is always important regardless of your subject, but it is especially crucial to make the most of macro photography’s color detail.
One reason for such vivid colors is that there is very little atmosphere between the lens and the subject when you are shooting close-ups. So, if a lot of haze or fog is in the air, you will get more vivid macro photos than anything else
Reds and oranges stand out and draw the eye’s attention, whereas cooler colors (green, blue, and purple) naturally fade into the background.

Lighting
The problem of sufficiently and evenly lighting the subject can be difficult to
overcome. Some cameras can focus on subjects so close that they touch the front
piece of glass in the lens. It is impossible to place a light between the camera
and a subject that close, making this extreme close-up photography impractical.
A normal-focal-length macro lens (50 mm on a 35 mm camera) can focus so close
that lighting remains difficult. To avoid this problem, many photographers use
telephoto macro lenses, typically with focal lengths from about 100 to 200 mm.
These are popular as they permit sufficient distance for lighting between the
camera and the subject.