Lighting Styles
Lighting has three main purposes:
- Create an illusion of depth (modeling).
- Create a mood.
- Normalize (or, conversely, emphasize) the subject's features.
A studio lighting system usually includes at least
two light sources, the main and the fill light. Other light sources such as
background lights and accent lights can be added, as well. The Main Light is the
dominant light source in a portrait lighting setup. Therefore, portrait lighting
styles are defined by the relationship of the Main Light to the mask, or front,
of the subject's face. Two factors determine the style of lighting. The first
factor is the side of the face that the Main Light is directed toward.
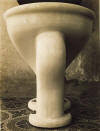
Distance to Subject and
Relative Size of Light Source
Hard Light Soft Light

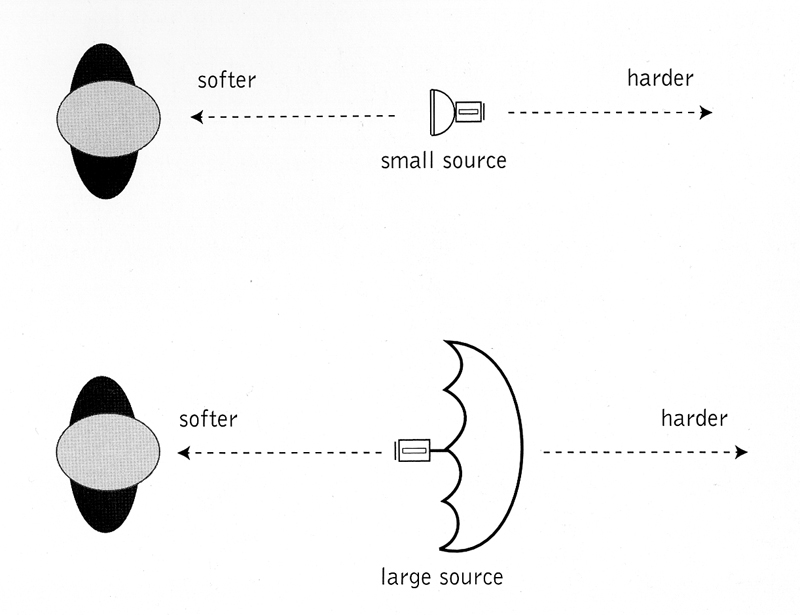
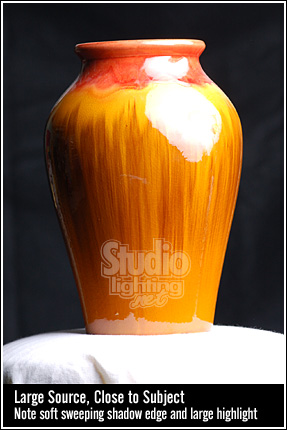
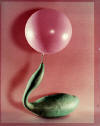
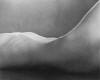
The apparent size of a light source depends on its
relative size to the subject and its distance from the subject. The relative
size of a light source has a dramatic effect on the shape and brightness of the
highlight as well as the softness of shadows cast by the light.
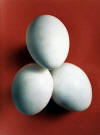
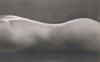
A light source that is relatively large compared to
a subject (a large softbox 3 feet from an apple, for example) will result in
soft shadows, low contrast and a less sharp highlight. A smaller light source
(small bulb 3 feet from the same apple) will result in greater contrast,
increased brightness in the highlight and sharper shadows. Typically, portrait
photographers desire a large relative light source for its soft qualities.
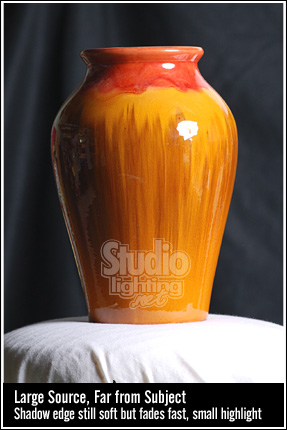
Distance from the subject can also cause the same
light source to appear soft or harsh. A large softbox is relatively larger than
an apple at 3 feet, but moving the softbox back to 15 feet makes it much smaller
relative to the apple thus producing the same hard light that would come from a
small source that was close to the apple. This is the reason for the various
sizes of light modifiers that are available.
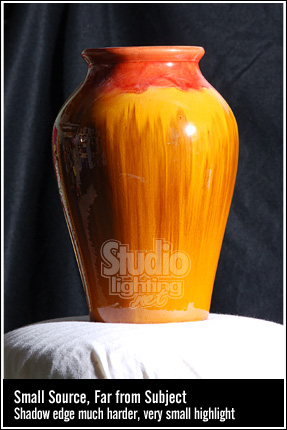
Experiment with your light source to see the
effects of relative size and distance to subject. Soon you will be able to
predict the results of your lighting setup when you make changes. A smooth
object like a ball will most easily show the light quality in your photo.
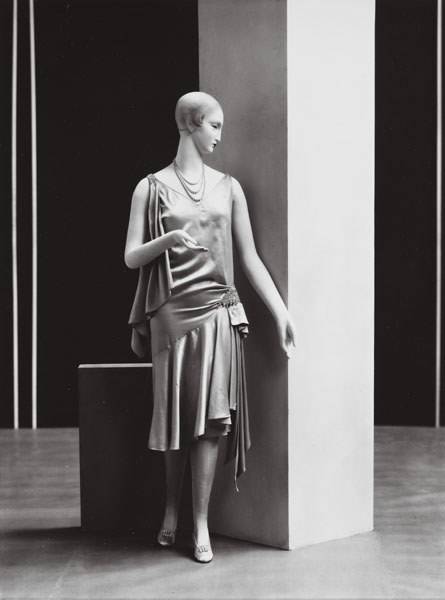
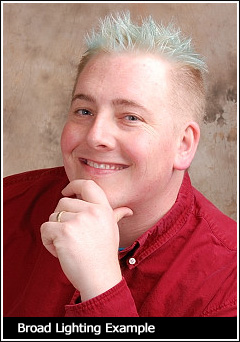
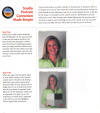
Broad Lighting:
Here the main light illuminates the side of the subject's face turned toward
the camera -- the broad view. It tends to flatten the illusion of depth and
de-emphasize her facial features.
To create a broad light, pose your subject to show
a 2/3 or 3/4 view of the face and direct your main light toward the side of the
face that is closest to the camera.
A broad light can be used to add weight to a face
that is too thin.
Broad Lighting Setup
- Main light is close to camera axis
- Light falls mainly on the side of the face that
is closest to the camera
- Good for subjects with more narrow face

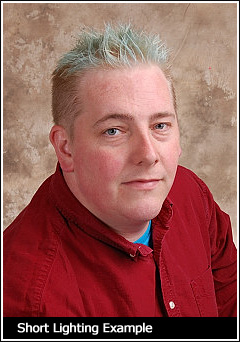
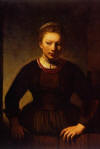
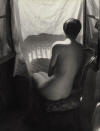
Short Lighting:
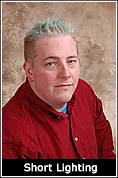
Still further left, we get the popular short or narrow lighting.
It narrows round faces and brings out the contours much better than broad
lighting.
To create a short light, pose your subject to show
a 2/3 or 3/4 view of the face and direct your main light toward the side of the
face that is furthest away from the camera. Short light can be used to
slenderize a face that is too heavy. Although short lighting was considered the
masculine style of lighting, today this style is used more than any other, when
photographing women as well as men.
The second factor that defines lighting style is
the relationship between the angle of the Main Light and the subject's nose
axis.
Short Lighting Setup
- Main light is off from the camera axis
- Light falls mainly on the side of the face that
is farthest from the camera
- Good for subjects with more round face
- Popular for dramatic look
- Move light farther away to produce Rembrandt
lighting - creating a triangle of light on the camera side upper cheek

45
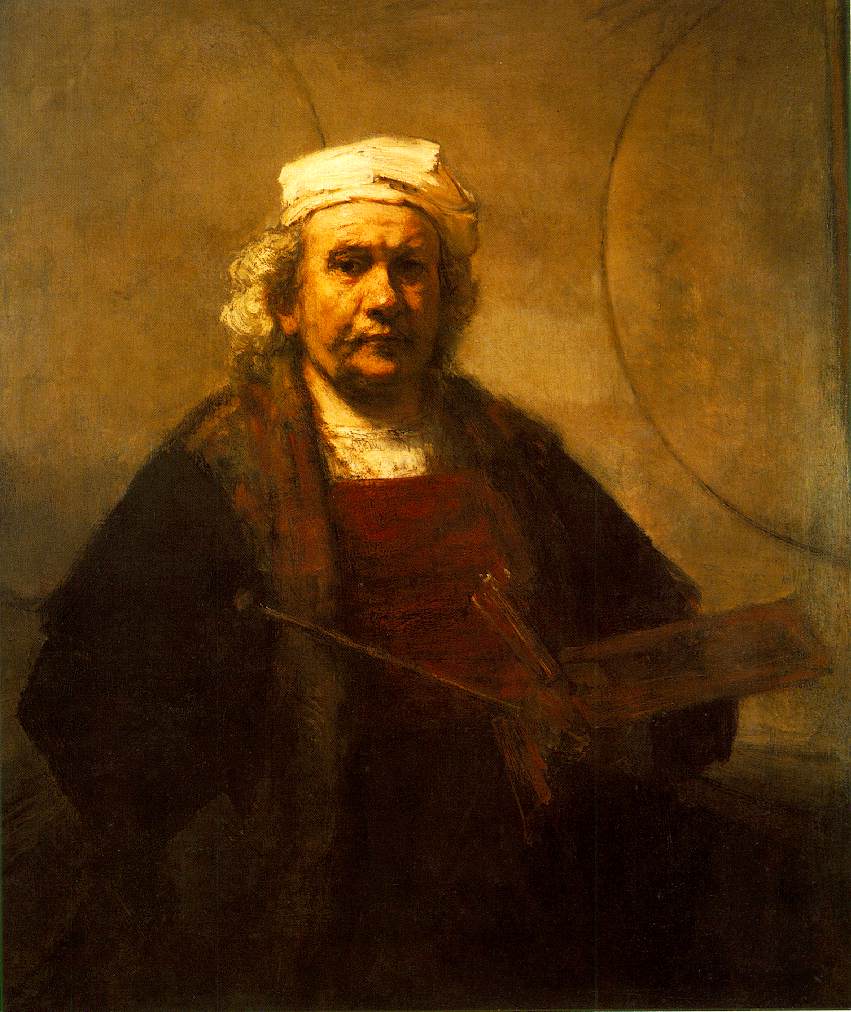
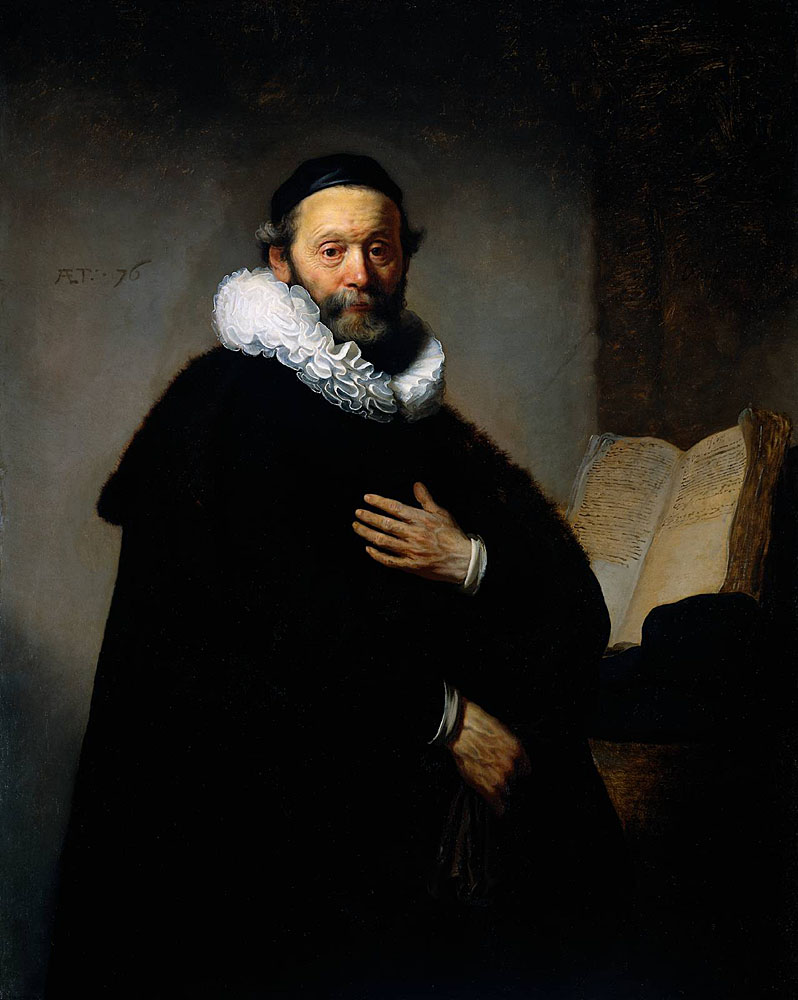
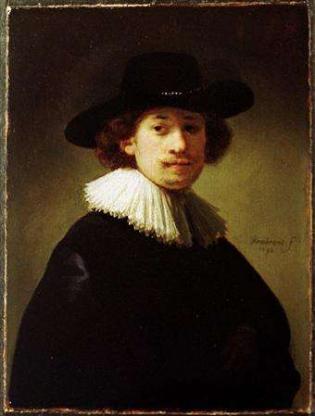
degree Lighting or Rembrandt lighting:

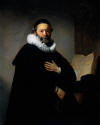
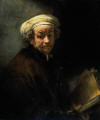
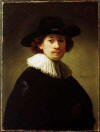

Still further left around our
subject, until a triangular patch of light remains on the leading cheek, is
reminiscent of many of Rembrandt's portrait paintings. As in butterfly lighting,
the light needs to be fairly high -- like Rembrandt's studio skylight.
Direct your Main Light toward your subject's face
at an angle of approximately 45 degrees. You can use 45 degree light from the
broad side, or the short side and to light either a full face or profile
portrait. The Main Light should be placed higher than the subject's head and is
directed down and at an angle of about 45 degrees. One characteristic of 45
degree lighting is the triangle of light from the Main Light that is on the
shadow side of the subject's face.
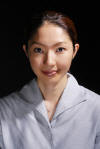
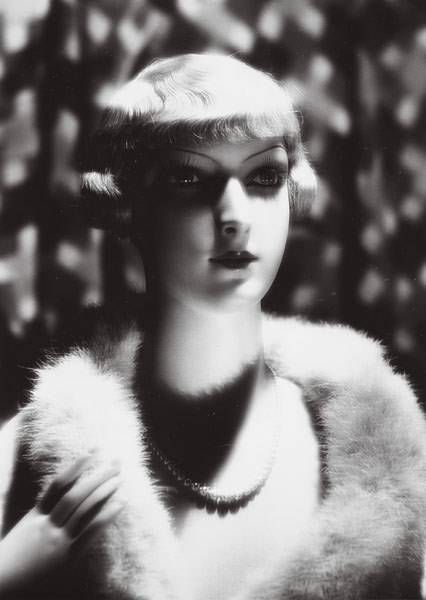
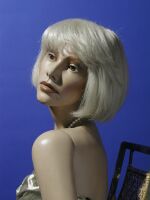
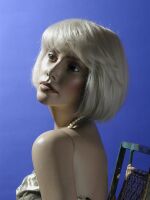
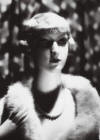
Butterfly or Glamour Lighting:
The term, "Butterfly Lighting," comes from a
characteristic butterfly shaped shadow beneath the subject's nose. If you want
to use butterfly lighting you should line your Main Light up along your
subject's nose axis and then raise the light until you see the characteristic
shadow. This style of lighting is also known as glamour lighting because it was
used extensively by the great Hollywood portrait photographers of the '20s, '30s
and '40s. Although light placement is identical for butterfly and glamour
lighting, photographers such as George Hurrell gave it a special look by using a
spotlight as the Main Light rather than a softer light source. If you move your
Main Light a little to the left or right, you will change your lighting style
into a modified butterfly pattern.
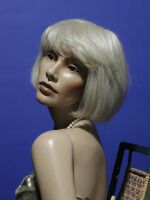
Paramount (Butterfly)
Lighting - Studio Lighting Setup
Paramount Lighting, sometimes called Butterfly
Lighting for the shape of the shadow it forms under the nose, is a female
glamour lighting style. It works best for women with strong cheek bones and good
skin. This lighting is not typically used with male subjects.
The key light is placed high with the fill light
directly under it. Keeping the light close to the subject, watch for the
butterfly shaped shadow to form under the nose. Be careful not to place their
eyes in shadow.
The fill light is placed at roughly head height and
can be accompanied or replaced by a reflector under the face to lighten the
shadows under the chin and lower cheek.
Moving the light further camera-left, we hit the sitter right
between the eyes producing a symmetrical butterfly effect with the shadows on
the features. With some softening, we could call this your basic glamour
lighting. A well- proportioned, oval face benefits most from this light.
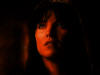
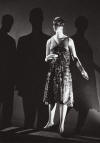
Split Lighting:
Split lighting divides the face along its center.
Split Lighting is probably the least used style of portrait lighting, but it can
be very effective. The easiest way to create split lighting is to place your
Main Light just as you would for 45° lighting. While watching the patch of light
on the shadow side of your subject's face, lower the Main Light and move it to
the side until the shadow-side highlight disappears. If you want to add an
accent of light to the shadow, move it back just a little until a very small
touch of light reappears on the shadow side of the face.
Finally, at 90 degrees left so that only half of the subject's face is
illuminated is aptly called split lighting. In addition to creating dramatic
effects, this lighting can hide defects on the shadow side or narrow a broad
nose.
Accent Lighting for Portraits
Accent lighting isn't always necessary, but can be
important, if not essential, in certain situations. If you use a dark
background, dark hair and clothing may blend into the background if you do not
use a background light or accent lights. A properly placed accent light
provides separation between the subject and the background.
Background Light
When lighting a background, place your background
light where it will be hidden from the camera and at a position where it will
illuminate the background without spilling onto the subject. For example, you
can direct the background light toward the background from behind the subject,
or from either or both sides of the set.
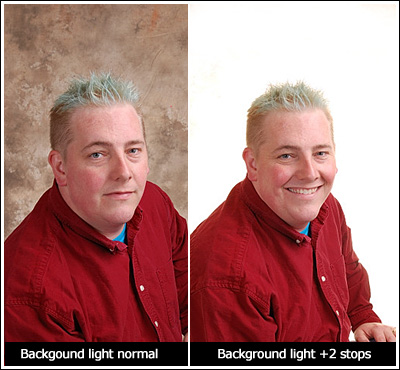
You can control how light or how dark a background will photograph by
adjusting the relationship between the intensity of the background light and
the intensity of the light falling on the subject. First, take a reading using
an incident light meter from the subject position. If you want the background
to photograph in its true tonality, that is if you want a light gray
background to photograph as light gray, adjust the intensity of the background
illumination until your meter reads the same as the subject reading. For
example, if your subject reading is f/8, your background reading should also
be f/8.
You can create a lighter background by increasing
the intensity of the background light. If your exposure reading at the subject
position is f/8, adjust the amount of light on your background until the meter
reads f/16, and expose for the subject at f/8. Your background will be two
stops overexposed and will appear much lighter than it really is.
You can create a darker background by reducing
the intensity of the background light. For example, if your exposure reading
at the subject position is f/8, adjust the intensity of the background light
to f/5.6, expose for the subject at f/8 and your background will be one stop
underexposed and will appear darker than it really is.
It is just as important to light a white
background properly, because without the correct amount of light, a white
background will photograph as a dirty gray, or perhaps a starker white than
you desire. You may find that your background will photograph as a cleaner
white if you add enough light to boost the background reading by 1/2 to 1 full
f-stop.
Accent Light and Kickers
Accent lights are seldom absolutely necessary,
but they can turn an ordinary portrait into one that is outstanding. The most
commonly used accent light is a hairlight. Unless you use a hairlight, your
subject's hair may blend into the background and will probably photograph
somewhat darker than it really is. When you use a hairlight you should adjust
its intensity until your incident light reading is equal to or more intense
that the subject reading. If the reading is equal or close to equal, you will
get a natural effect with improved hair texture. If you choose, you can
increase the intensity of the hairlight to produce a more dramatic effect.
Your hairlight should be placed high and slightly
behind the subject and aimed toward the subject's hair. You can use any type
of light source as long as you can adjust it so that it reaches only those
areas you want to illuminate. For example, you can use a strobe with a small
reflector. You can also use a soft box or a small to medium-sized strip light
fitted with louvers for more precise light control. Regardless of the type
light you select, it is best to mount your hairlight on a boom, a track system
or some other type of ceiling support system.
Hairlights aren't the only type of accent lights.
You can add an accent light, called a kicker, from any position that allows
you to illuminate only the area you want to accent. For example, a kicker can
be behind and to the side of the subject. This light can add a rim of light
along the side of the subject's face, adding interest and sparkle to the
photograph.
High Middle and Low Key
lighting
When used in portrait photography, the term “Key”
refers to the overall tone of the final photograph. The elements of the
portrait that play into the tone of it are the color of the background, the
color of clothing used and the color of any props or foreground elements.
Portraits that have a consistent key generally have much more of an impact
that those whose elements are not consistent. It is true as well that, though
rare, tones can be mixed in a photo with success. A danger in mixing tones is
that the potential for confusion on the part of the viewer.
Generally, portraits are classified in one of
three keys – low key, middle key or high key. Low key portraits are created
using a dark background and dark clothing and props. You can identify the key
of a portrait by determining the average tone for the scene.
Generally a low key portrait would have more dark
elements than bright ones. Clothing and background might be black or dark
browns giving the feeling of drama or rigidity. Low key portraits may also be
shot with a higher lighting ratio near 3:1 as contrast is acceptable due to
the drama of a lower tone.
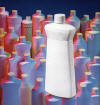
A high key portrait setup would involve the use
of a white or off white background and brighter clothing. A high key portrait
can be challenging as it requires a great deal of light control and has the
most risk of overexposure and loss of detail. In general they would have a low
lighting ratio near 2:1. A common background for high key portraits is paper
which is slightly overexposed resulting in a pure white seamless background
and a feeling of cleanliness. Great care is usually taken to separate the
subject from the background to eliminate shadows. These portraits also tend to
require more light and thus more power and lighting equipment to create.
As expected, a photo which has tones in the
middle of high and low would be called a middle key portrait. Often middle key
portraits will use skin tone to set the mood. In these cases, clothing may be
used to accent the tone of the skin with contrast rather than allow all
elements to blend together. Often a high key portrait can be converted to a
middle key portrait by reducing exposure.
Often the background sets the tone for the image
and as such key should be a consideration at the beginning of a portrait
setup. A background should not take focus off of the subject, but rather help
lead the eye to the subject in the final image. Take time to identify your
overall tone, or key before you arrange the lighting setup and you will be
surprised at the results.
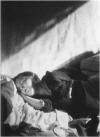
Back Lighting - Studio
Lighting Setup
Back Lighting is a flattering dramatic lighting
style. It can be effective for covering skin blemishes due to the generally
soft portraits it can produce. Since the light is coming from behind the
subject, lens flare is typical, but accepted.
The main light should be a large light source or a
smaller one aimed at a white background (effectively using the background as
the source). The portrait can be taken with a reflector providing fill light
or without a reflector for a silhouette effect.

.jpg)


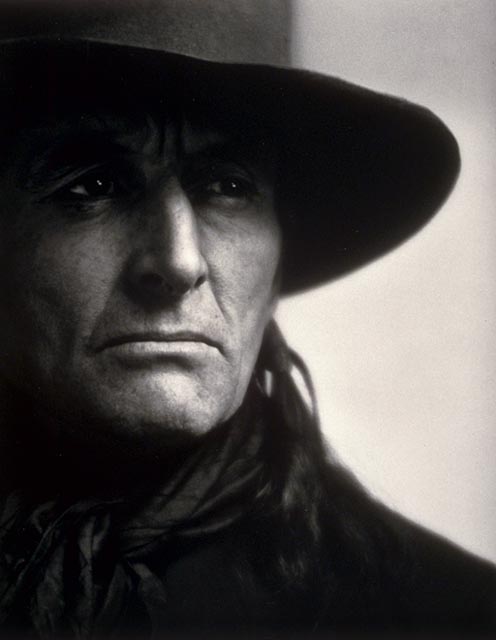
 Nickolas Muray

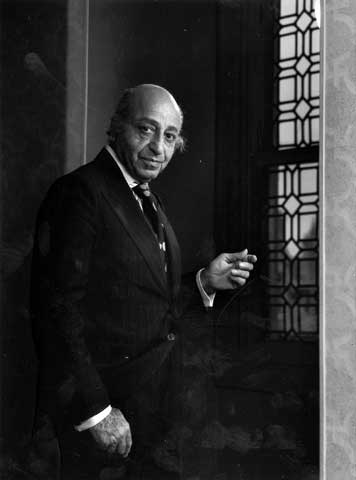
 Arnold Newman
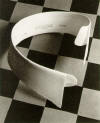
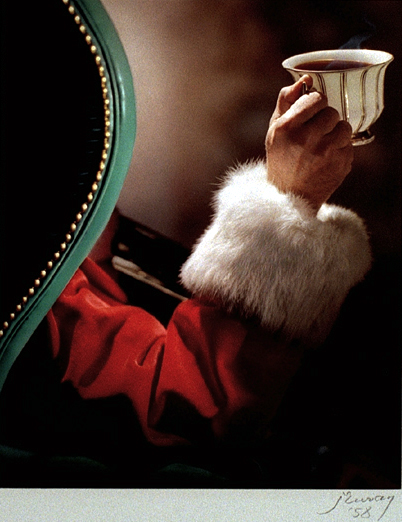
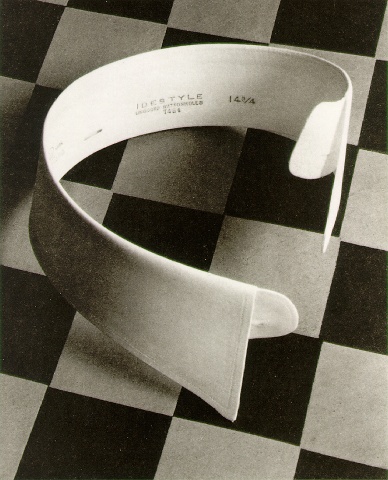
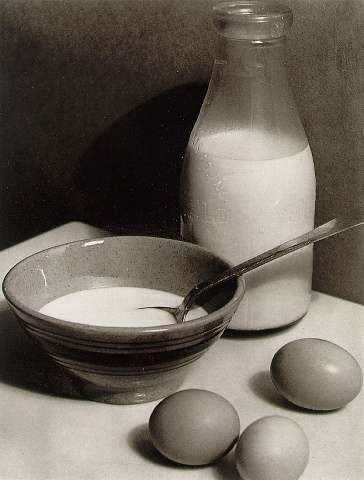
 Paul Outerbridge


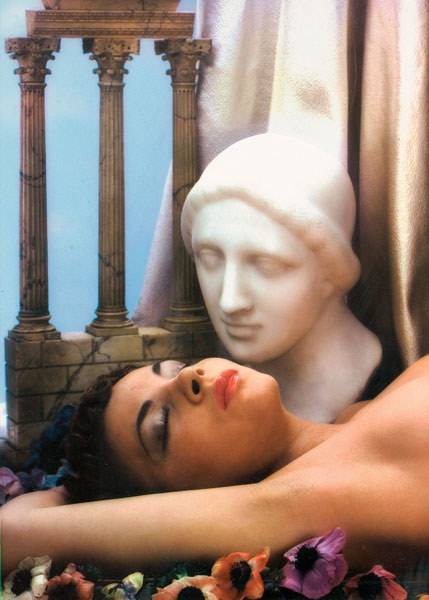
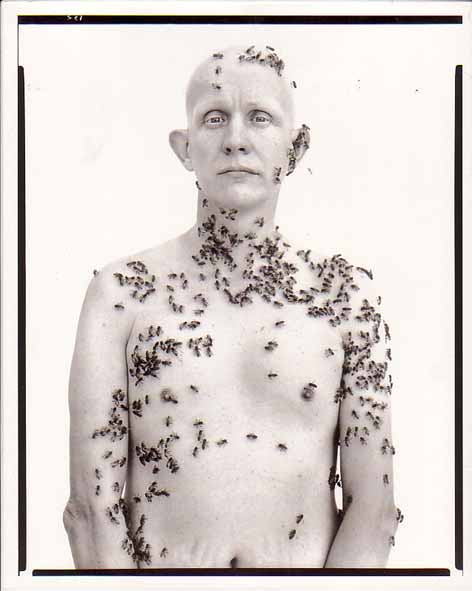
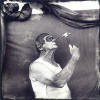 Joel Peter Witkin
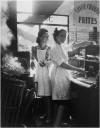

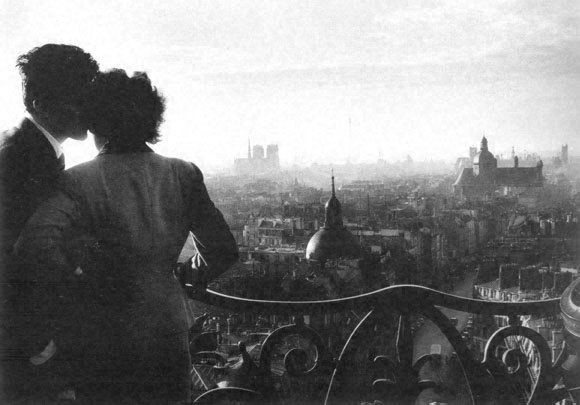
 Willy Ronis
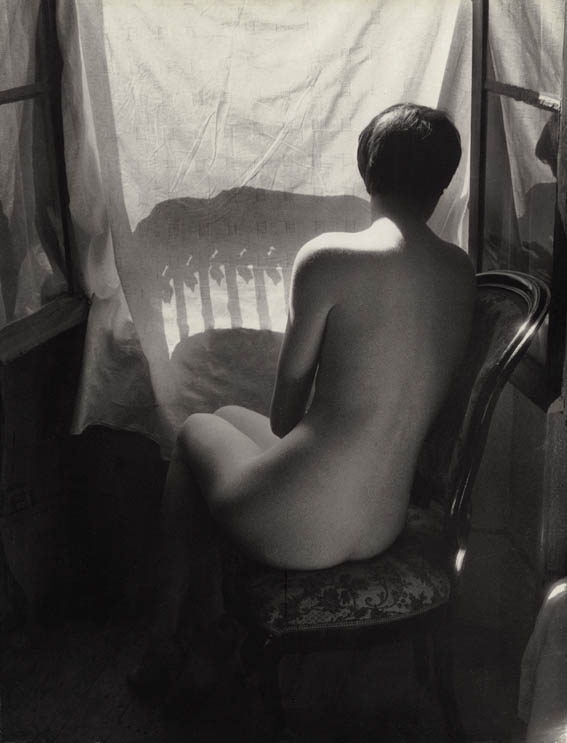
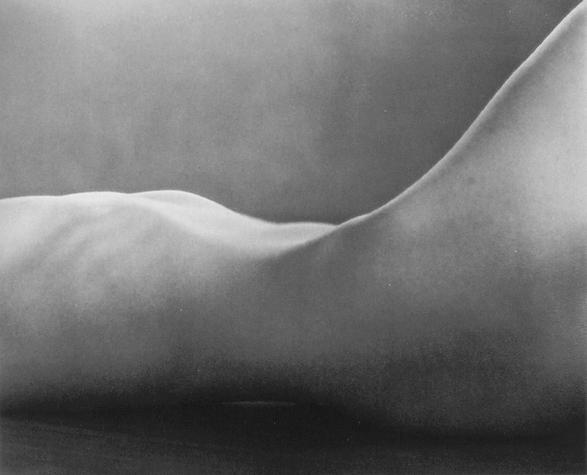
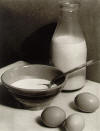
 Edward Weston
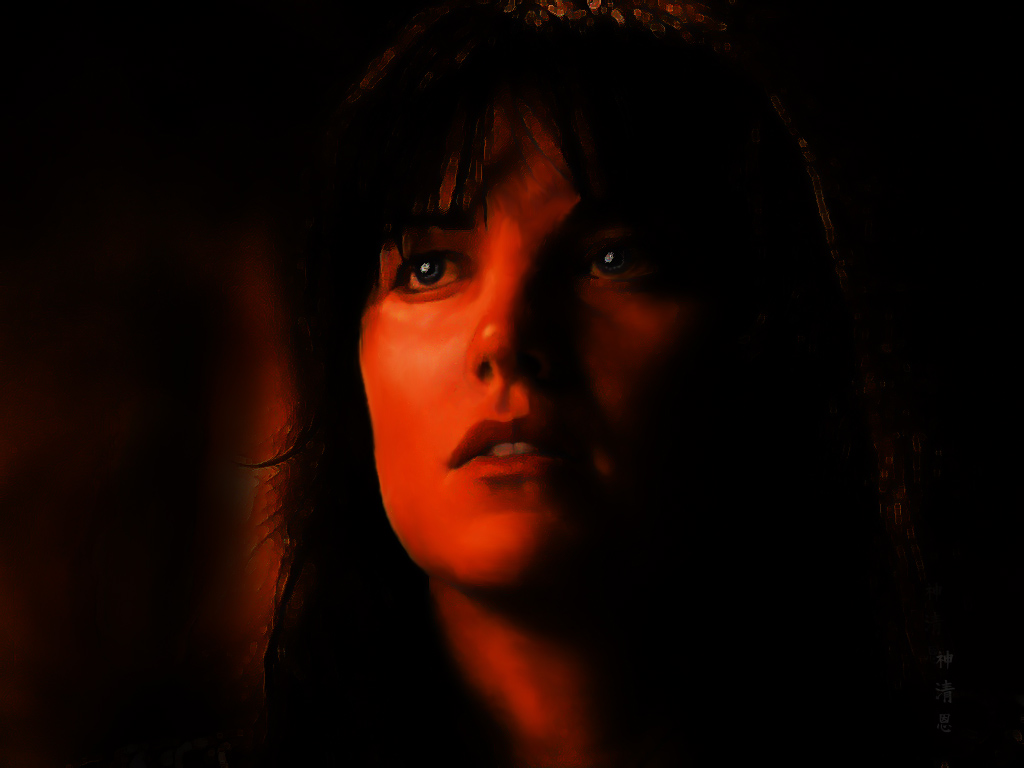
 Cindy Sherman