HDR
In computer graphics and photography, high dynamic
range imaging (HDRI) is a set of techniques that allows a far greater dynamic
range of exposures (i.e. a large range of values between light and dark areas)
than normal digital imaging techniques. The intention of HDRI is to accurately
represent the wide range of intensity levels found in real scenes ranging from
direct sunlight to the deepest shadows.
HDRI was originally developed for use with purely computer-generated images.
Later, methods were developed to produce a high dynamic range image from a set
of photographs taken with a range of exposures. With the rising popularity of
digital cameras and easy to use desktop software, the term "HDR" is now
popularly used[1] to refer to the process of tone mapping together with
bracketed exposures of normal digital images, giving the end result a high,
often exaggerated dynamic range. This composite technique is different from, and
generally of lower quality than, the production of an image from a single
exposure of a sensor that has a native high dynamic range. Tone mapping is also
used to display HDR images on devices with a low native dynamic range, such as a
computer screen.
History
The desirability of HDR has been recognised for decades but its wider usage was, until quite recently, precluded by the limitations imposed by the available computer hardware. Probably the first practical application of HDRI was by the movie industry in late 1980s and, in 1985, Gregory Ward created the Radiance RGBE image file format which was the first (and still the most commonly used) High Dynamic Range Imaging file format. In 1997 the technique of combining several differently exposed images to produce a single HDR image was presented to the public by Paul Debevec and his research has since contributed significantly to the popularization of HDRI.
Comparison with traditional digital images

Information stored in high dynamic range images usually corresponds to the physical values of luminance or radiance that can be observed in the real world. This is different from traditional digital images, which represent colors that should appear on a monitor or a paper print. Therefore, HDR image formats are often called "scene-referred", in contrast to traditional digital images, which are "device-referred" or "output-referred". Furthermore, traditional images are usually encoded for the human visual system (maximizing the visual information stored in the fixed number of bits), which is usually called "gamma encoding" or "gamma correction". The values stored for HDR images are often linear, which means that they represent relative or absolute values of radiance or luminance (gamma 1.0).
HDR images require a higher number of bits per
color channel than traditional images, both because of the linear encoding and
because they need to represent values from 10−4 to 108 (the range of visible
luminance values) or more. 16-bit ("half precision") or 32-bit floating point
numbers are often used to represent HDR pixels. However, when the appropriate
transfer function is used, HDR pixels for some applications can be represented
with as few as 10–12 bits for luminance and 8 bits for chrominance without
introducing any visible quantization artifacts [2][3].
Sources
HDR images were first produced with various
renderers, notably Radiance. This allowed for more realistic renditions of
modelled scenes because the units used were based on actual physical units e.g
watts/steradian/m². It made it possible for the lighting of a real scene to be
simulated and the output to be used to make lighting choices (assuming the
geometry, lighting, and materials were an accurate representation of the real
scene).
At the 1997 SIGGRAPH, Paul Debevec presented his paper entitled "Recovering High
Dynamic Range Radiance Maps from Photographs".[4] It described photographing the
same scene many times with a wide range of exposure settings and combining those
separate exposures into one HDR image. This HDR image captured a higher dynamic
range of the viewed scene, from the dark shadows all the way up to bright lights
or reflected highlights.
A year later at SIGGRAPH '98, Debevec presented "Rendering Synthetic Objects
into Real Scenes: Bridging Traditional and Image-Based Graphics with Global
Illumination and High Dynamic Range Photography".[5] In this paper he used his
previous technique to photograph a shiny chrome ball to produce what he called a
"light probe", essentially a HDR environment map. This light probe could then be
used in the rendering of a synthetic scene. Unlike a normal environment map that
simply provides something to show in reflections or refractions, the light probe
also provided the light for the scene. In fact, it was the only light source.
This added an unprecedented level of realism, supplying real-world lighting data
to the whole lighting model.
HDRI lighting plays a great part in movie making when computer 3D objects are to
be integrated into real-life scenes.
Now, CMOS image sensor designers have begun marketing chips that can perform HDR
functions on the chip without the need for added software. One of the highest
ranges is 100 dB starting near infrared.
Tone mapping
Tone mapping is a computer graphics technique used to map a set of colours to another; often to approximate the appearance of high dynamic range images in media with a more limited dynamic range. Print-outs, CRT or LCD monitors, and projectors all have a limited dynamic range which is inadequate to reproduce the full range of light intensities present in natural scenes. Essentially, tone mapping addresses the problem of strong contrast reduction from the scene values (radiance) to the displayable range while preserving the image details and color appearance important to appreciate the original scene content
Purpose and methods
The goals of tone mapping can be differently stated depending on the particular
application. In some cases producing just nice-looking images is the main goal,
while other applications might emphasize reproducing as many image details as
possible, or maximizing the image contrast. The goal in realistic rendering
applications might be to obtain a perceptual match between a real scene and a
displayed image even though the display device is not able to reproduce the full
range of luminance values.
Various tone mapping operators have been developed in the recent years [1]. They
all can be devided in two main types:
global (or spatially uniform) operators: they are non-linear functions based on
the luminance and other global variables of the image. Once the optimal function
has been estimated according to the particular image, every pixel in the image
is mapped in the same way, independent of the value of surrounding pixels in the
image. Those techniques are simple and fast (since they can be implemented using
look-up-tables), but they can cause a loss of contrast.
local (or spatially varying) operators: the parameters of the non-linear
function change in each pixel, according to features extracted from the
surrounding parameters. In other words, the effect of the algorithm changes in
each pixel according to the local features of the image. Those algorithms are
more complicated than the global ones, they can show artifacts (e.g. halo effect
and ringing), the output can look un-realistic, but they can provide the best
performance (the human vision is mainly sensitive to local contrast).
A simple example of global tone mapping filter is L = Y / (Y + 1). This function
will map scene radiance values Y in the domain to a displayable output range of
[0,1).
A more sophisticated group of tone mapping algorithms is based on contrast or
gradient domain methods, which are 'local'. Such operators concentrate on
preserving contrast between neighboring regions rather than absolute value, an
approach motivated by the fact that the human perception is most sensitive to
contrast in images rather than absolute intensities. Those tone mapping methods
usually produce very sharp images, which preserve very well small contrast
details; however, this is often done at the cost of flattening an overall image
contrast. Examples of such tone mapping methods include: gradient domain high
dynamic range compression [2] and A Perceptual Framework for Contrast Processing
of High Dynamic Range Images[3] (a tone mapping is one of the applications of
this framework).
An interesting approach to tone mapping of HDR images is inspired by the
anchoring theory of lightness perception [4]. This theory explains many
characteristics of the human visual system such as lightness constancy and its
failures (e.g. the same color illusion), which are important in the perception
of images. The key concept of this tone mapping method (Lightness Perception in
Tone Reproduction[5]) is a decomposition of an HDR image into areas (frameworks)
of consistent illumination and the local calculation of the lightness values.
The net lightness of an image is calculated by merging of the frameworks
proportionally to their strength. Particularly important is the anchoring --
relating the luminance values to a known brightness value, namely estimating
which luminance value is perceived as white in the scene. This approach to tone
mapping does not affect the local contrast and preserves the natural colors of
an HDR image due to the linear handling of luminance.
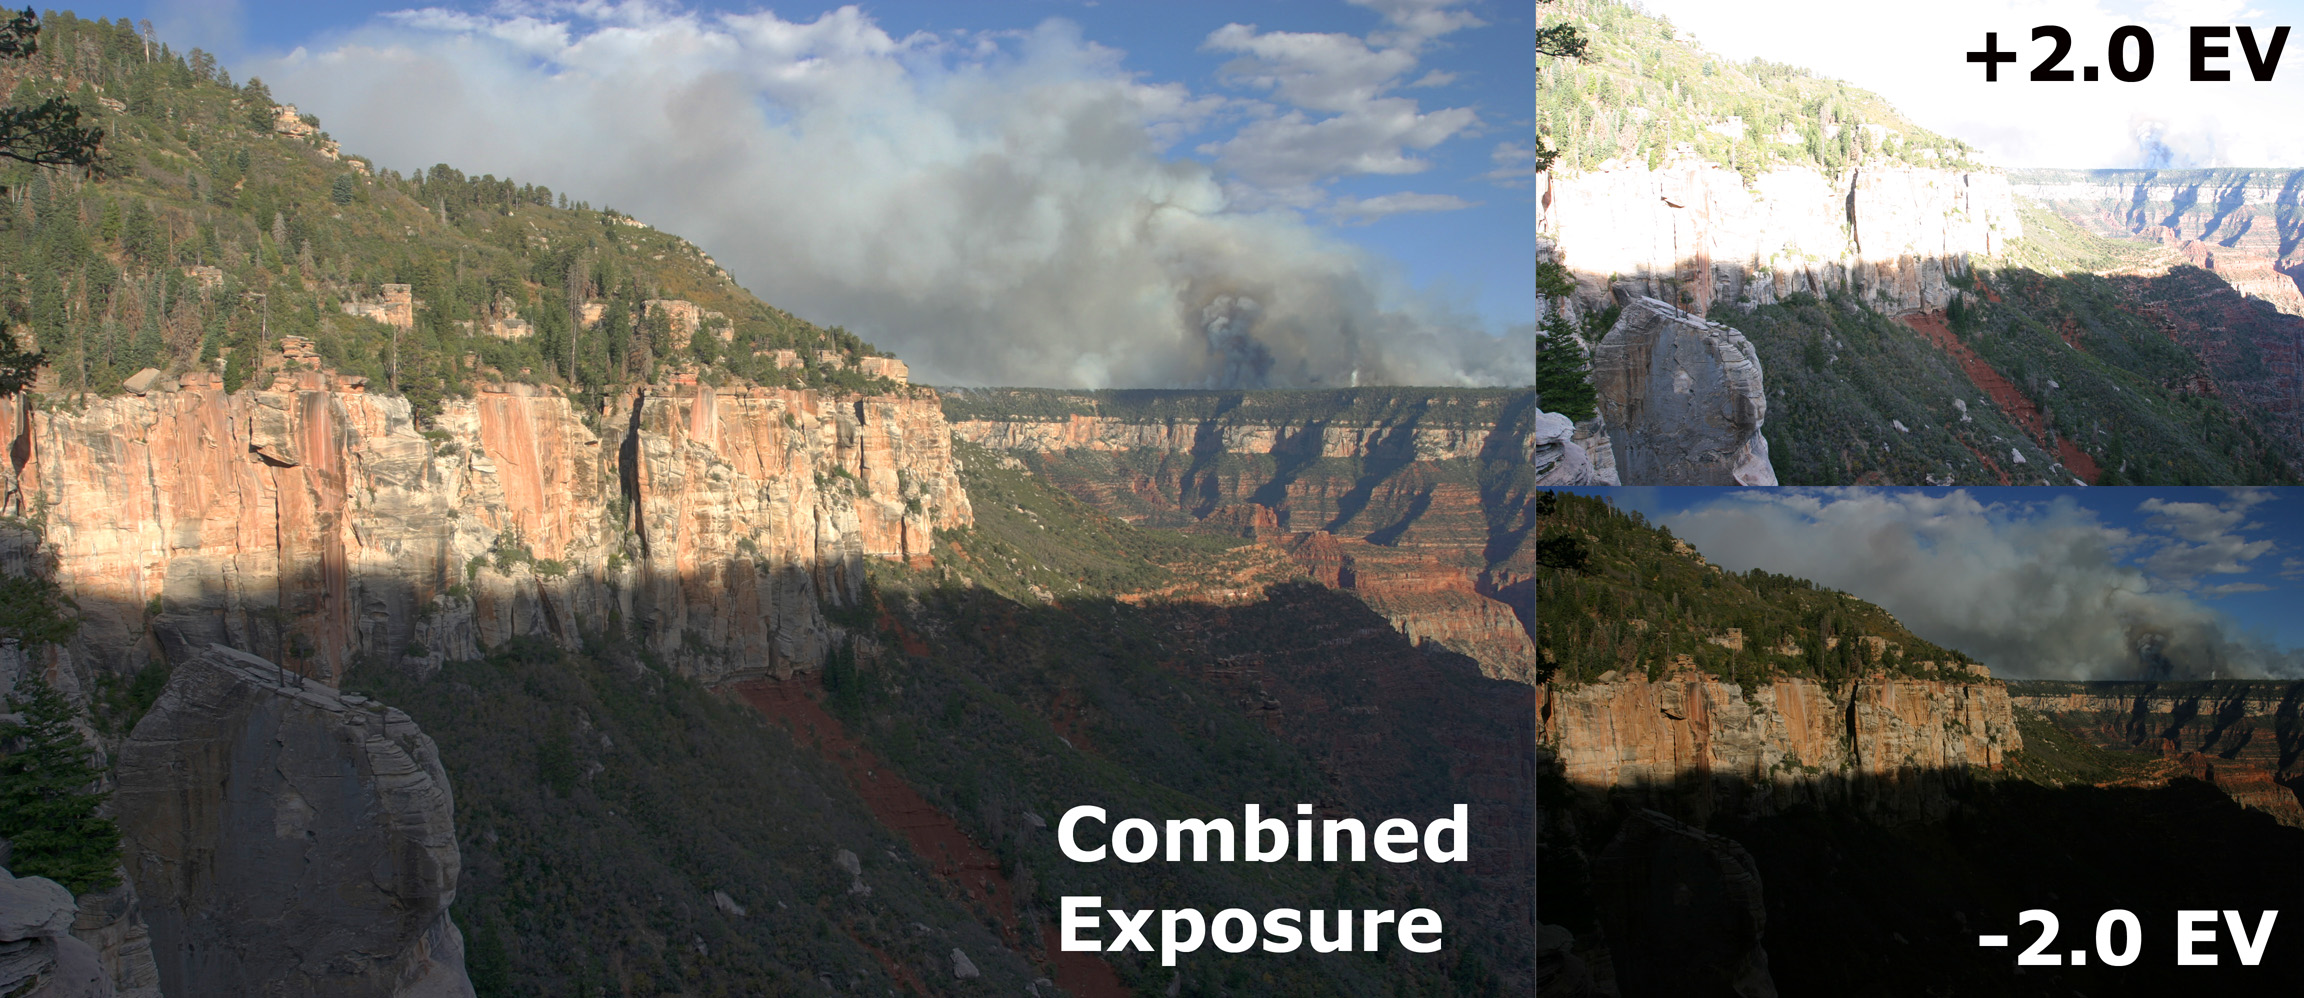
Example of the imaging
process
![]()
![]()
The images on the right show the interior of a
church, a scene which has a variation in radiance much larger than that which
can be displayed on a monitor or recorded by a conventional camera. The six
individual exposures from the camera show the radiance of the scene in some
range transformed to the range of brightness that can be displayed on a
monitor. The range of radiances recorded in each photo is limited, so not all
details can be displayed at once: for example, details of the dark church
interior cannot be displayed at the same time as those of the bright
stained-glass window. An algorithm is applied to the six images to recreate the
high dynamic range radiance map of the original scene (a high dynamic range
image). Alternatively, some higher-end consumer and specialist scientific
digital cameras are able to record a high dynamic range image directly, for
example with RAW images.
In the ideal case, a camera might measure luminance directly and store this in
the HDR image; however, most high dynamic range images produced by cameras today
are not calibrated or even proportional to luminance, due to practical reasons
such as cost and time required to measure accurate luminance values — it is
often sufficient for artists to use multiple exposures to gain an "HDR image"
which grossly approximates the true luminance signal.
The high dynamic range image is passed to a tone mapping operator, in this case
a non-local operator, which transforms the image into a low dynamic range image
suitable for viewing on a monitor. Relative to the church interior, the
stained-glass window is displayed at a much lower brightness than a linear
mapping between scene radiance and pixel intensity would produce. However, this
inaccuracy is perceptually less important than the image detail, which can now
be shown in both the window and the church interior simultaneously.
Visual effect

Tone-mapping is a standard photographic method, long predating digital image processing (but historically not called ``tone-mapping"), to compress high image contrast for reproduction on a medium with smaller dynamic range. Reducing dynamic range with tone-mapping is often useful in bright sunlit scenes, where the difference in intensity between direct illumination and shadow is large. Use of tone-mapping in this context may not be apparent from the final image:
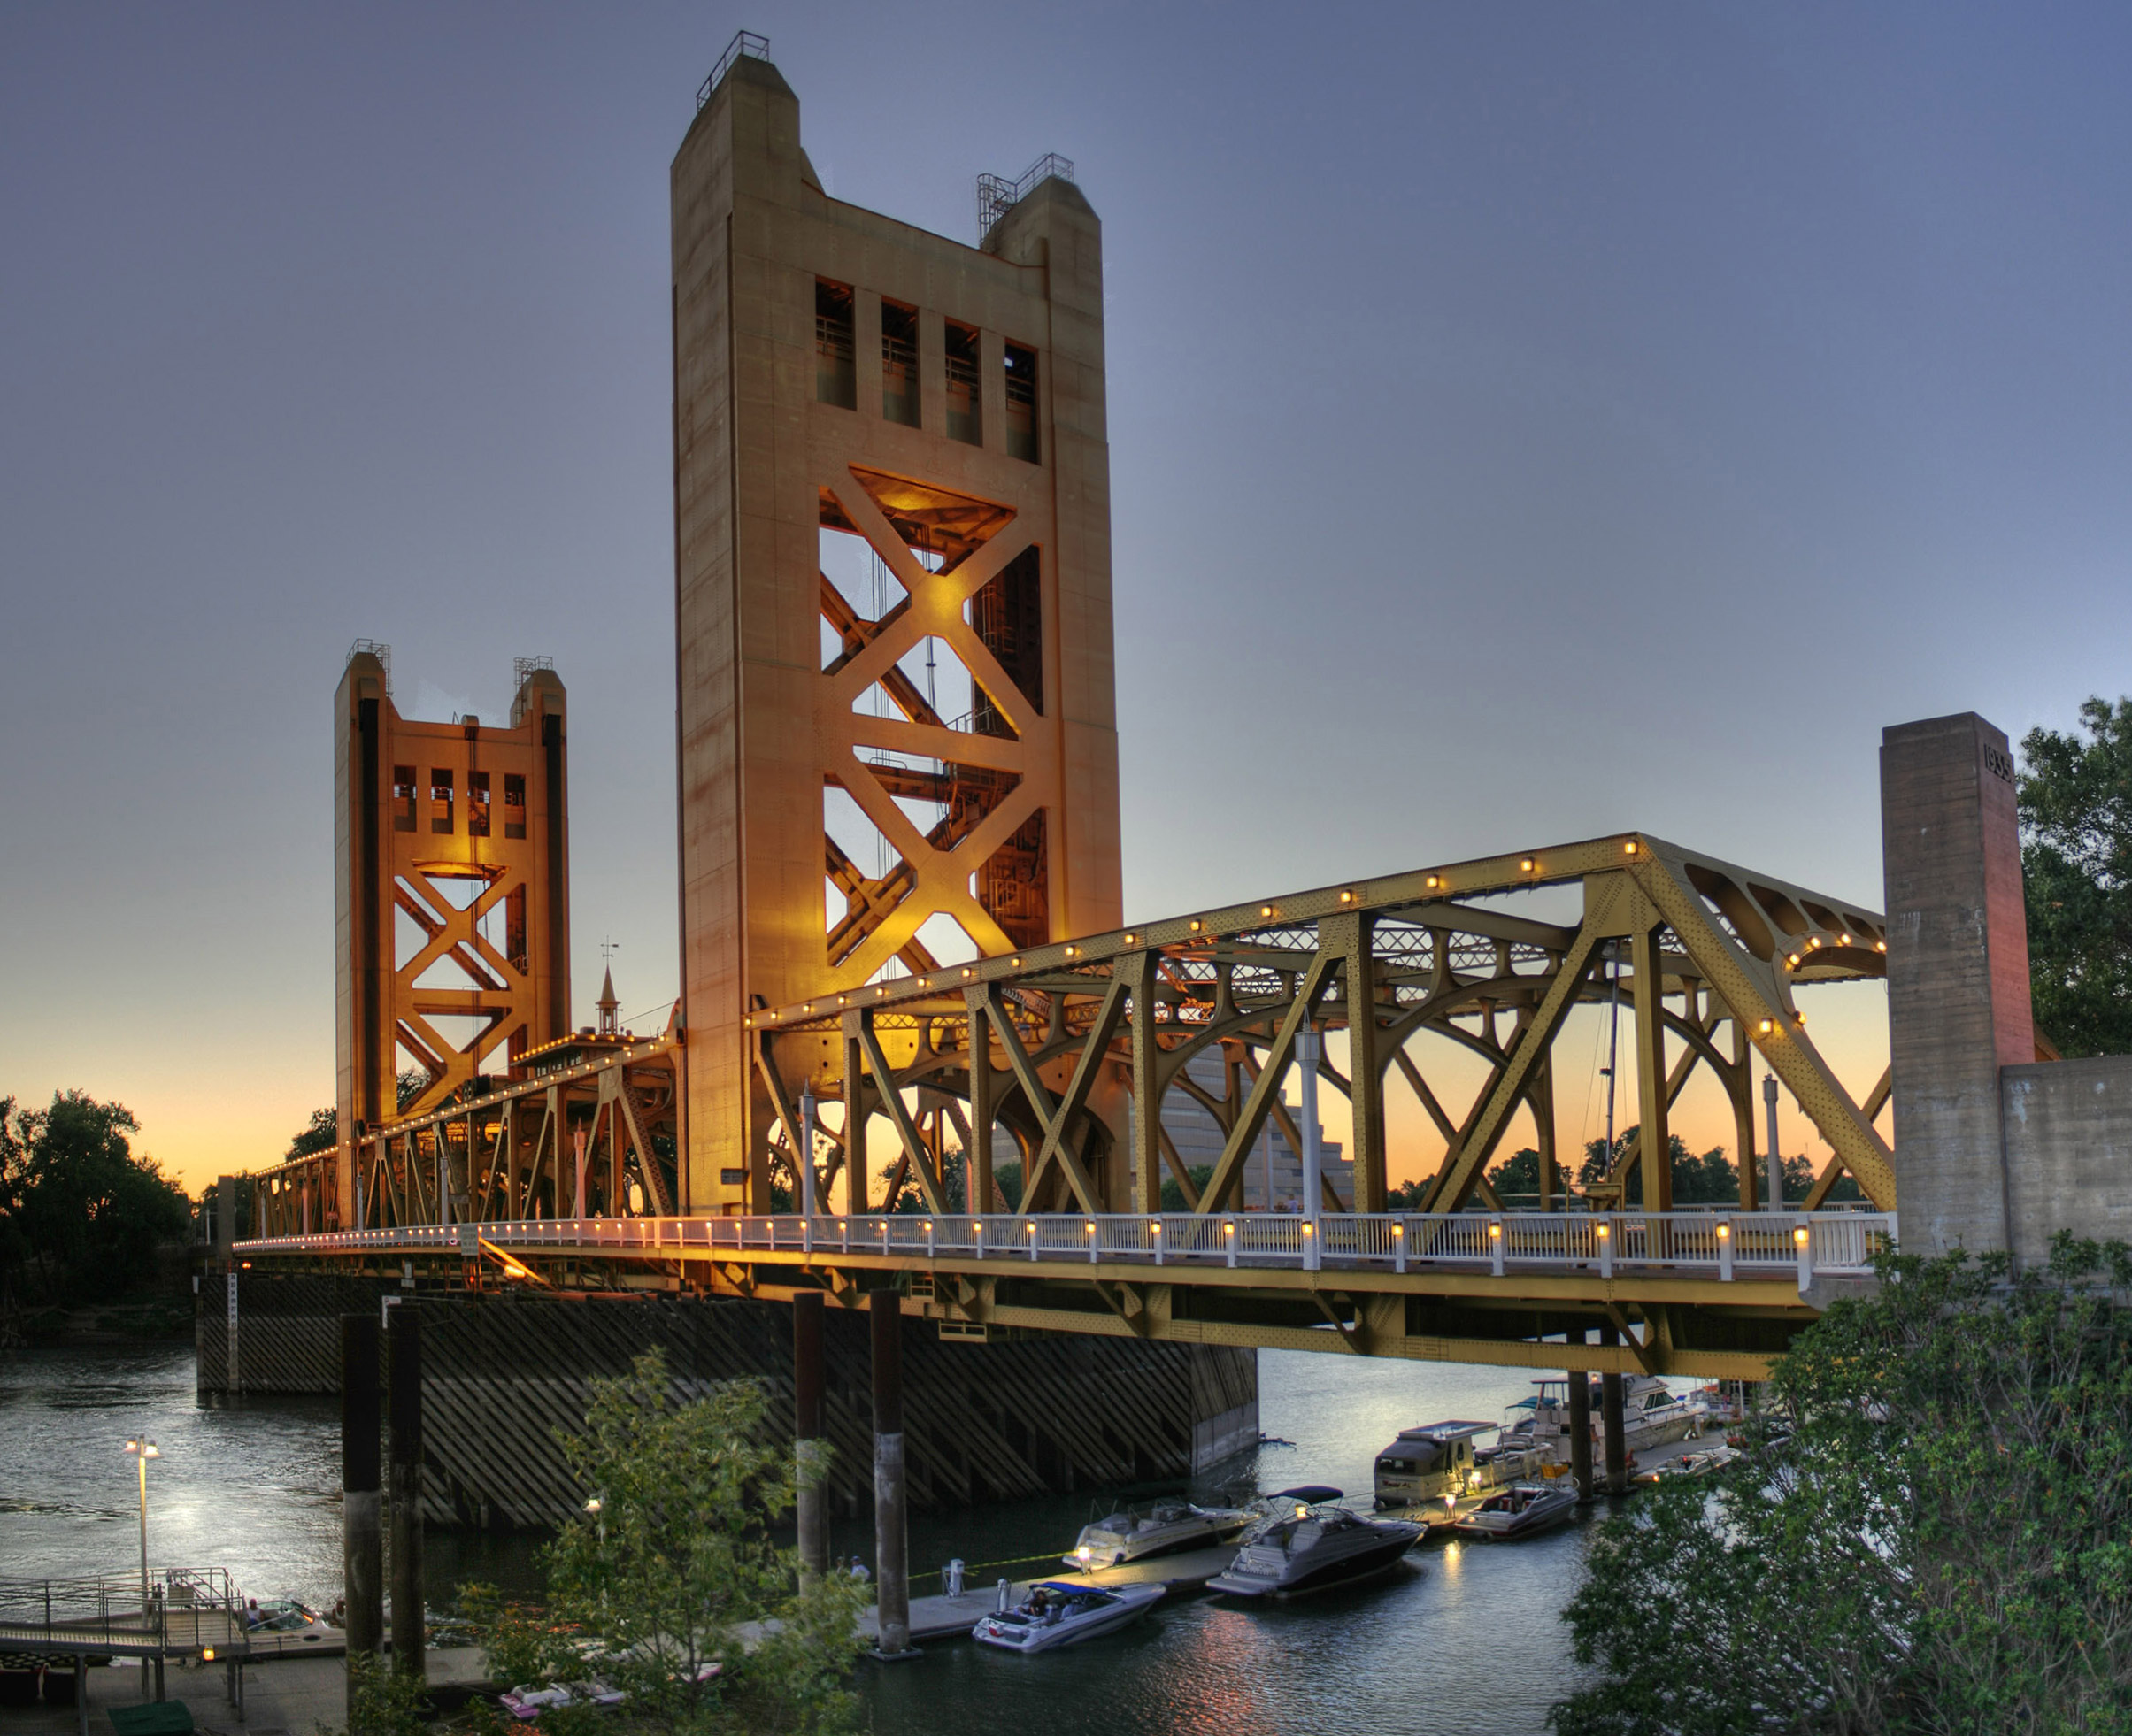
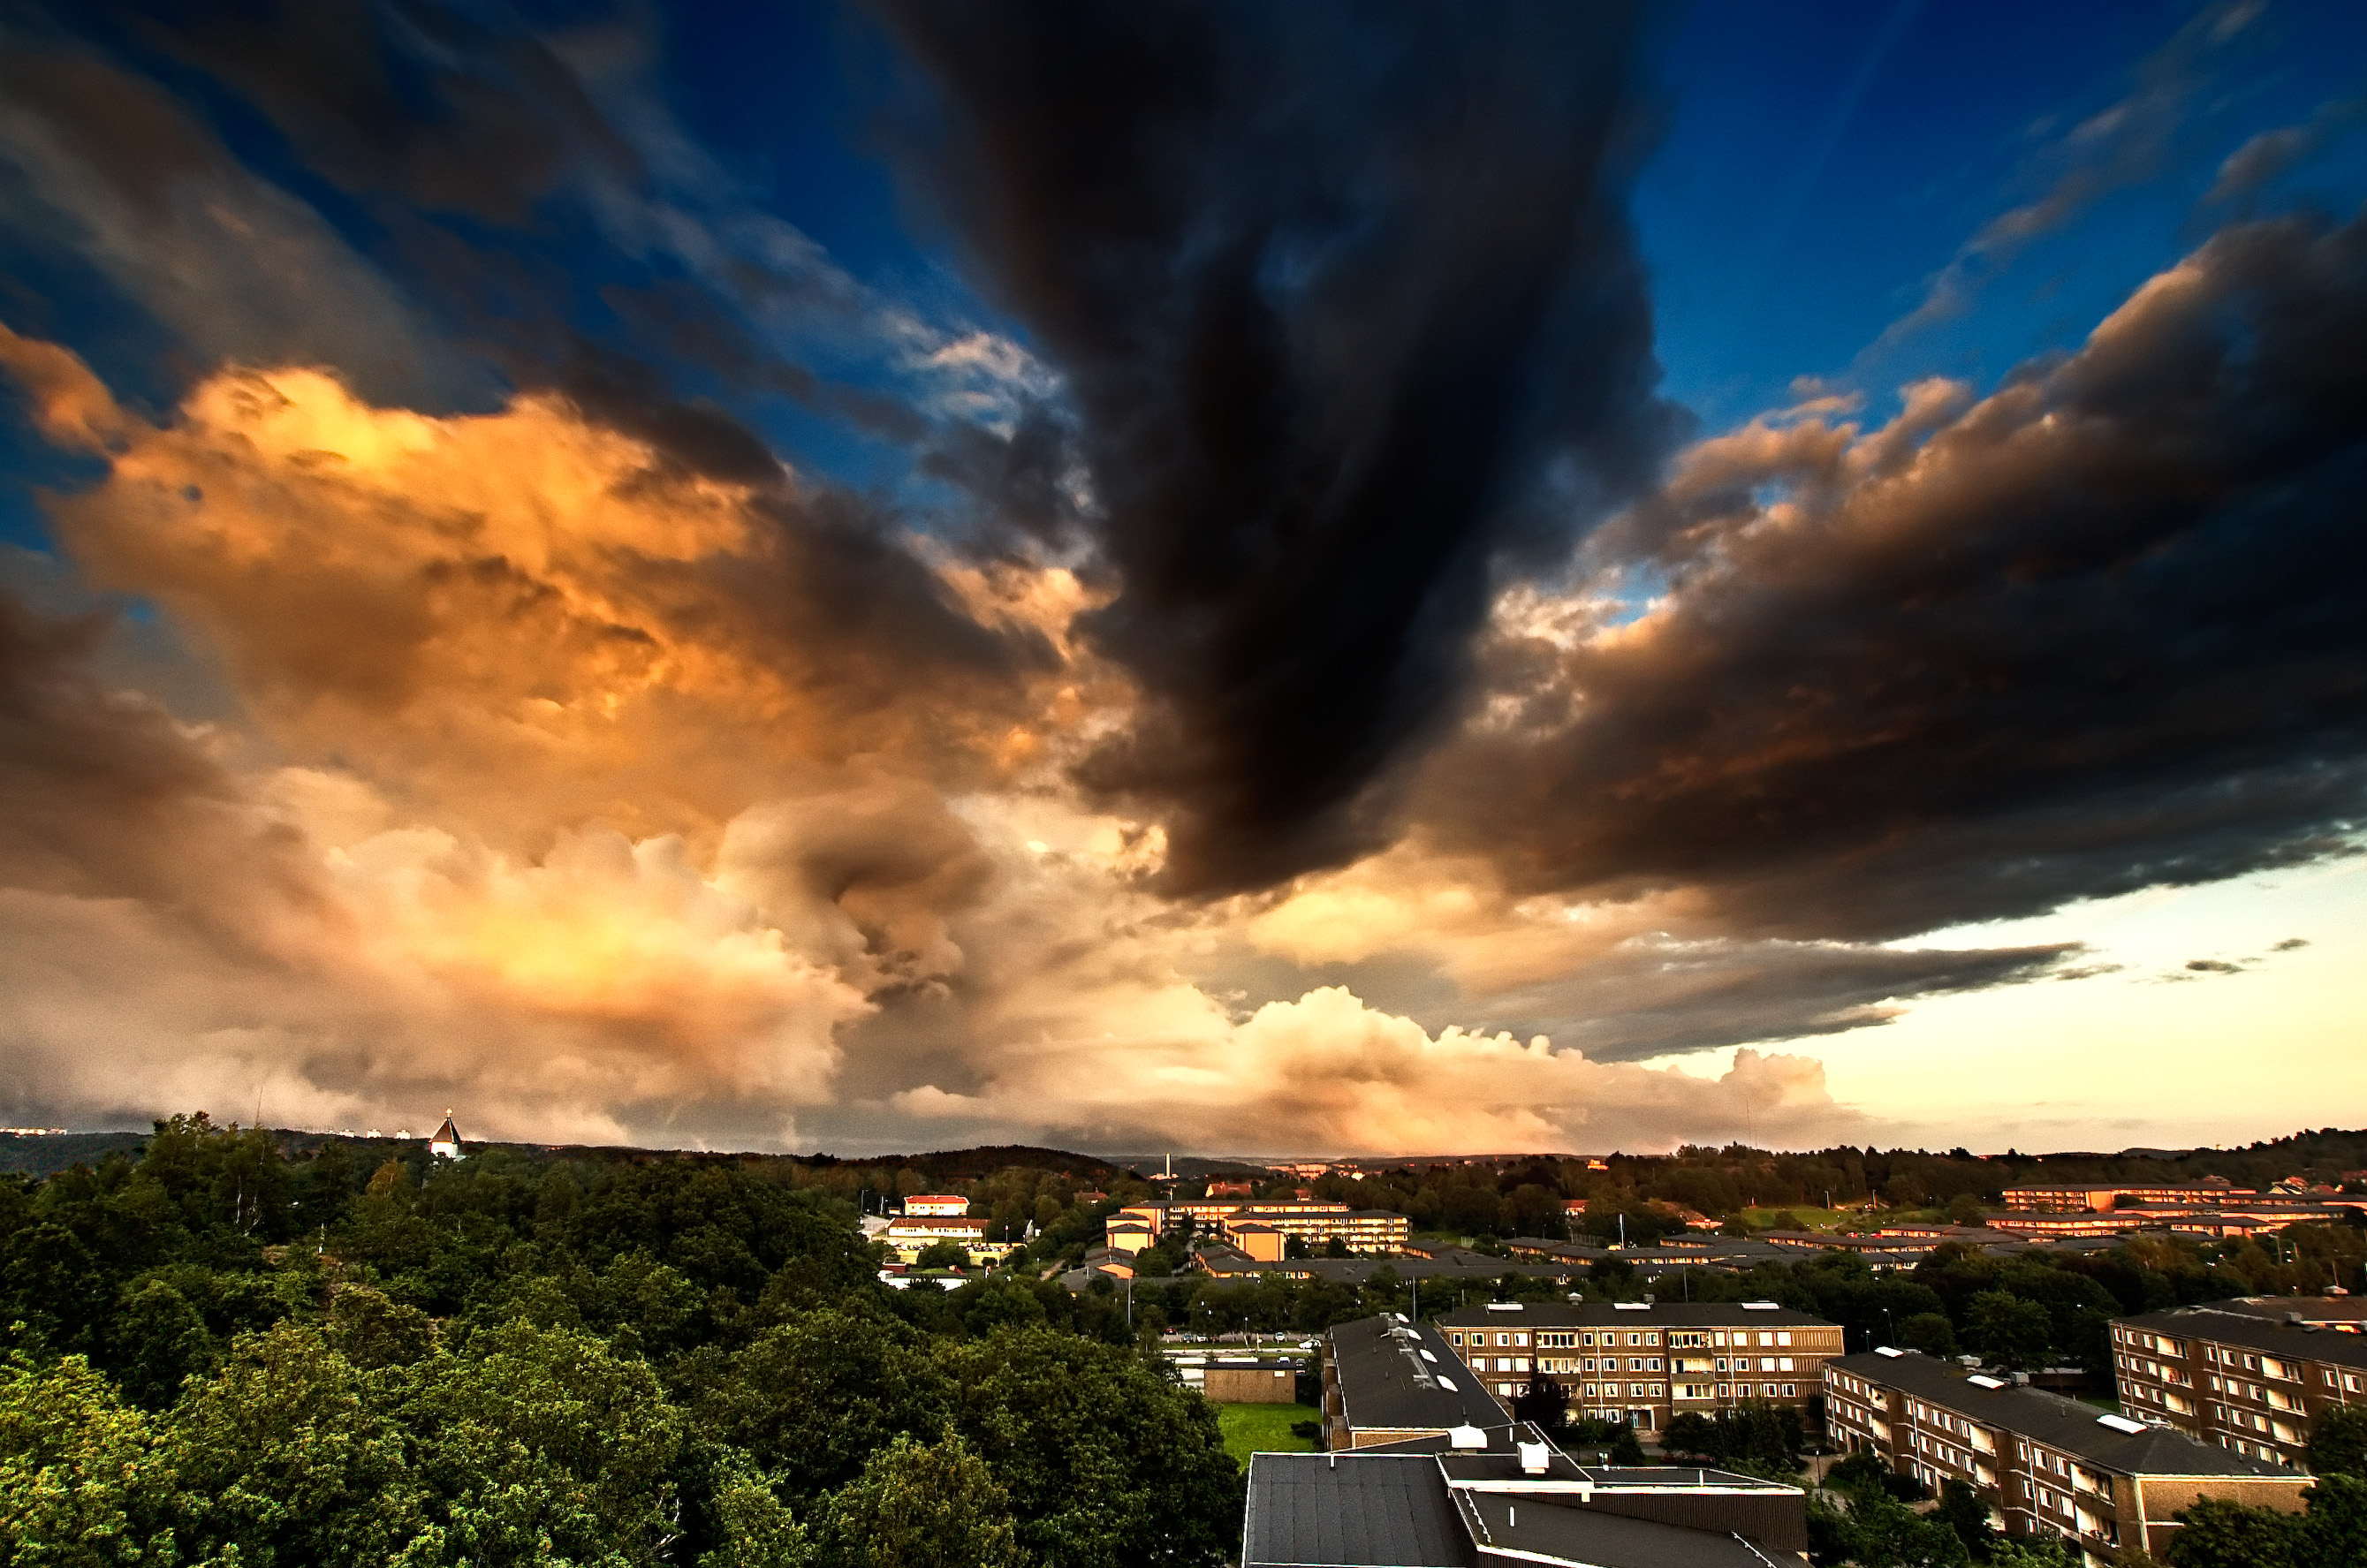
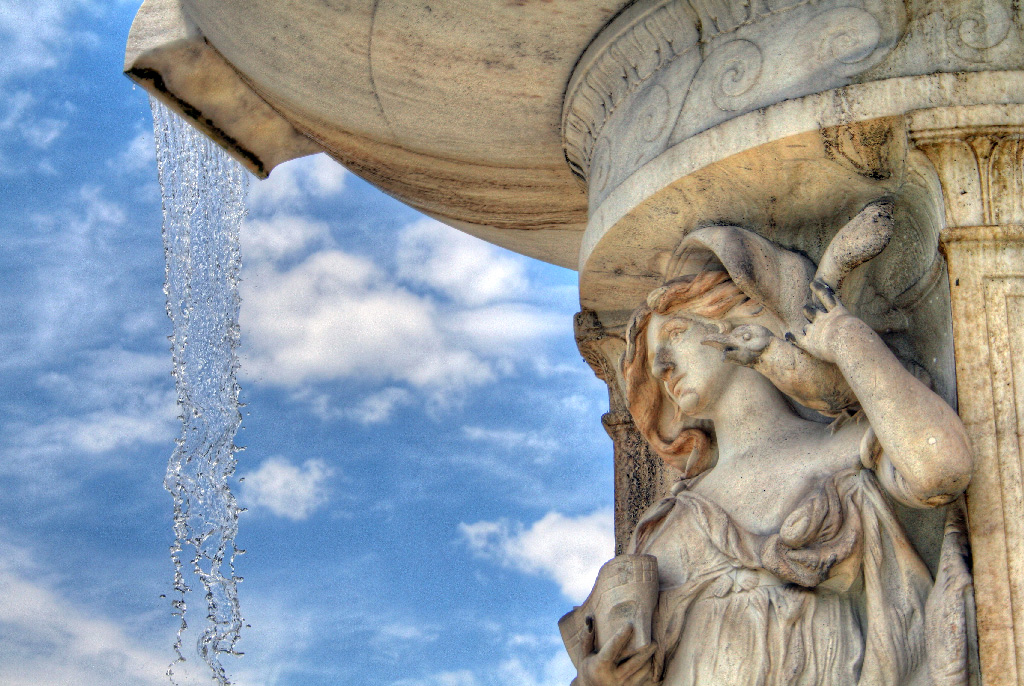
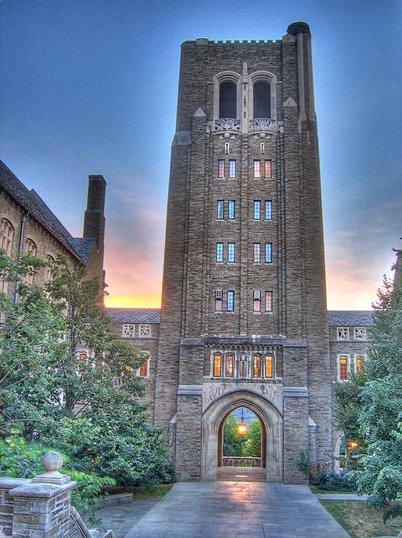
Tone-mapping can also be used as an effect to produce distinctive images from scenes where the dynamic range may — but need not — be particularly high. A visual effect characteristic of some non-local tone-mapping operators is the production of bright 'halos' around darker objects, such as that which can be seen in the Cornell Law School photo.
![]()

Photoshop CS5 HDR
Merge to HDR 32 Bit Imaging
Photoshop CS2 saw the advent of Merge to HDR (High Dynamic Range), a way to create an image with an extended dynamic range. Basically a camera is limited in the amount of shadow and highlight information that it can record at the same time. Many times, if you shoot for the shadows, the highlights are blown out as a white area. Or shoot for the highlights, perhaps out a window and the interior walls lose their detail and become a blob of black. Photographers get around this limitation by taking multiple Photographs, adjusting the exposure of the camera each time (Bracketing). All the Photos are then placed together in layers and then tedious use of layer masks allow the Photographer to reveal areas of each picture to produce an extended dynamic range.
Merge to HDR, will automatically merge all the images together into a single 32 bit image that has a much wider dynamic range than traditional images. These HDR images are used a lot by 3D artists and videographers to produce texture maps, lighting masks and more. Photographers also make good use of these new features to create stunning Photographs with incredible clarity in the shadows and highlights. CS3 uses the auto-align technology to help keep all the photos sharp by removing the problems of mis-registration where the camera has moved slightly in one or more of the images. We also see some drastic improvements in Merge to HDR in CS3.
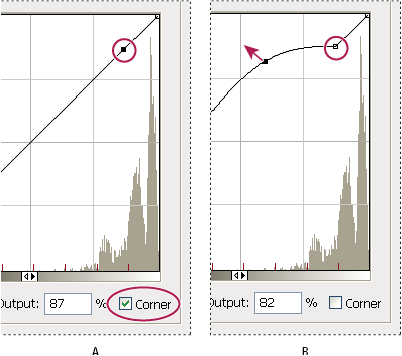
One of the challenges is converting HRD to 16 or 8-bit formats for printing or online display. This is done by altering the response curve during conversion time. CS3 allows you to save your curves as presets, which will save a lot of time. Could this be the year that HDR image come to the forefront of Photography? Perhaps.
We also have more filters available to the 32 bit color space as well as the ability to create a new 32 bit image in Photoshop CS3.
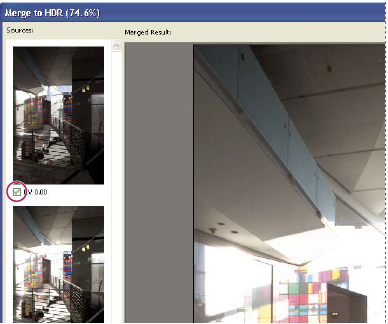
Merge images to HDR
Use the Merge To HDR command to combine multiple images (with different exposures) of the same image or scene, capturing the dynamic range of a scene in a single HDR image. You can choose to save the merged image as a 32‑bpc HDR image.
Note: It's also possible to use the Merge To HDR command to save the merged image as an 8‑ or 16‑bpc image. However, only a 32‑bpc image can store all the HDR image data; 8‑ and 16‑bpc images will be clipped.
Moving the slider adjusts the image preview only. All the HDR image data remains intact in the merged image file. If you’re saving the merged image as 32‑bpc, the preview adjustment is stored in the HDR image file and applied whenever the file is opened in Photoshop. The preview adjustment is always accessible and adjustable by choosing View > 32‑Bit Preview Options.
Click OK to create the merged image.
If you chose to save the merged image as an 8‑bits or 16‑bpc image, the HDR Conversion dialog box opens. Make the exposure and contrast corrections to produce an image with the dynamic range (tonal range) you want.
Convert from 32 bits to 8 or 16 bpc
Take photos for merging to HDR
Keep the following tips in mind when you take photos to be combined with the Merge To HDR command: