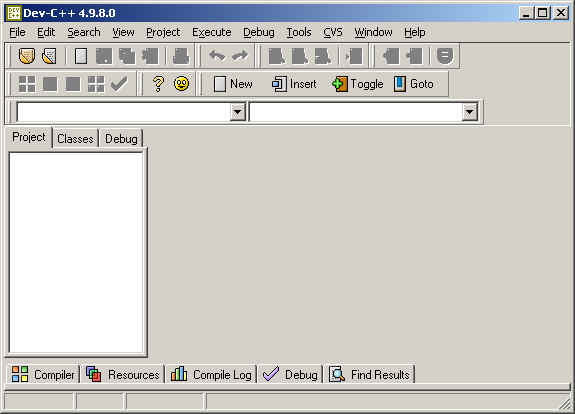
a) If you are creating a new source code
b) If you already have an existing source code (.cpp file).
Follow the instruction for the case which applies.
-
Case 1: If you are creating a new file (source code):
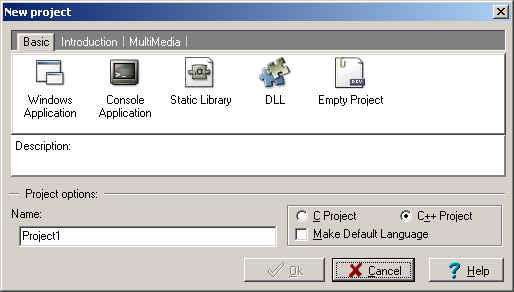
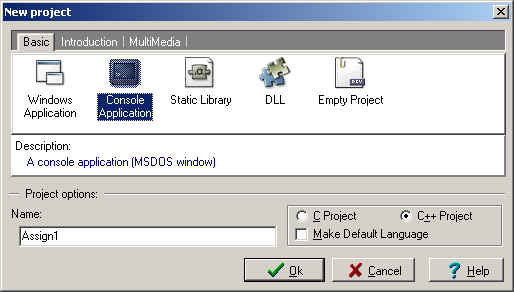
Suppose you want to name the project "Assign1". In the pop-up window, click on Console Application and type in "Assign1" in the Project options, Name. Then click OK.
The next pop-up window will say "Create new project" in the window title. Select any directory in which you like to place the project. Say you select C:\temp\309. Then the window should look like:
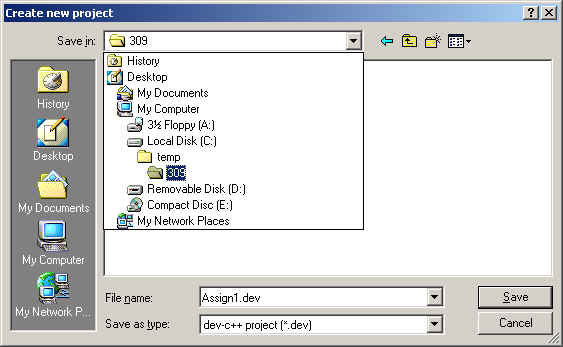
Click on Save. Then the pop-up screen disappears and you will see the following screen.
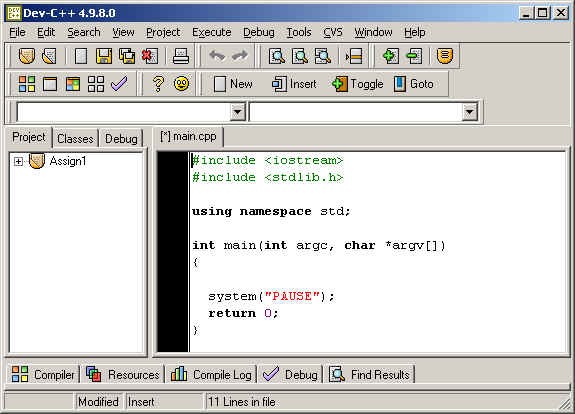
Next, in the right pane (under (*) main.cpp) tab), type in a line "cout <<..." as highlighted below.
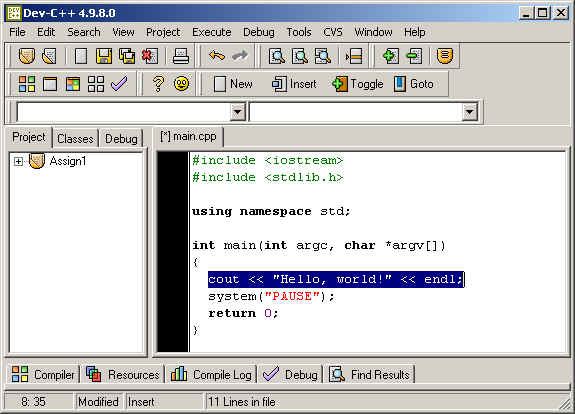
Then hit the Save button, which looks like
 .
In the next pop-up windows, change the file name to "Assign1main.cpp",
as below. Then click on Save.
COMPILATION AND EXECUTION:
Now you are ready to compile. Click on the Compile button, which looks like .
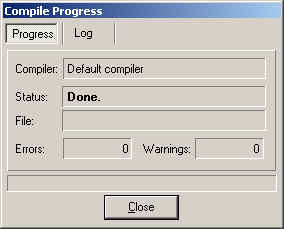
As the compilation takes place, you see a small windon "Compile
progress". When it is finished, you see the window as
below. Click on Close.
Then you execute the program by clicking on the Run button, which looks like
 .
You will see an MS-DOS window which looks like
-
Case 2: If you already have a file
Suppose you already have a .cpp file called "Assign1main.cpp" under "C:\temp\309" directory (thus, the whole path is "C:\temp\309\Assign1main.cpp"). Also suppose you want to name the project "Assign1". In the pop-up window, click on Empty Project and type in "Assign1" in the Project options, Name. Then click OK.
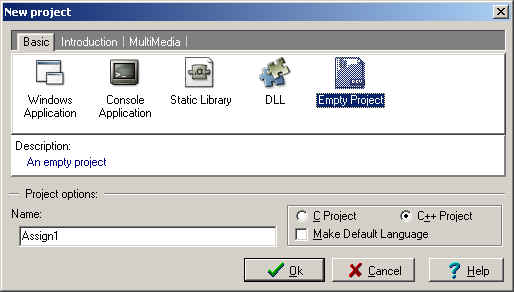
The next pop-up window will say "Create new project" in the window title. Select/goto C:\temp\309 and hit Save. Then the window should look like:
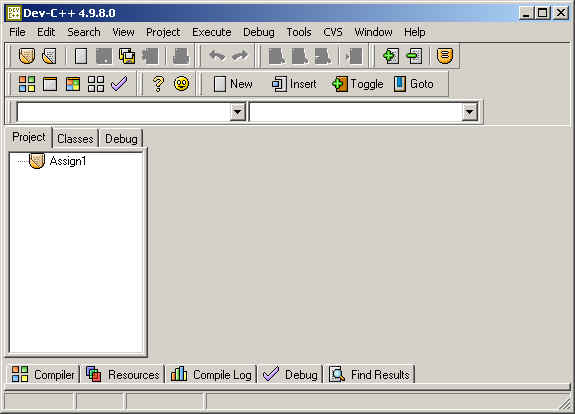
Next, click on "Add to project" button, which looks like
 .
Then select the .cpp file, "Assign1main.cpp" and click Open.
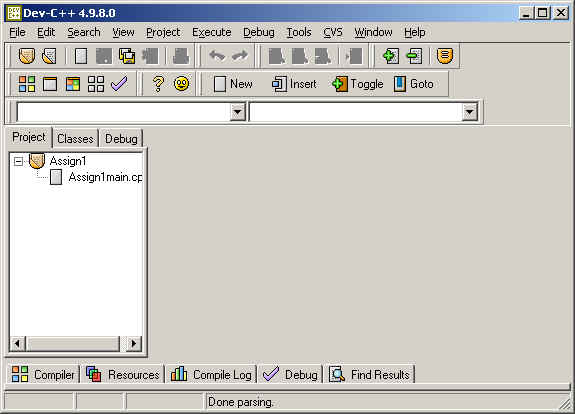
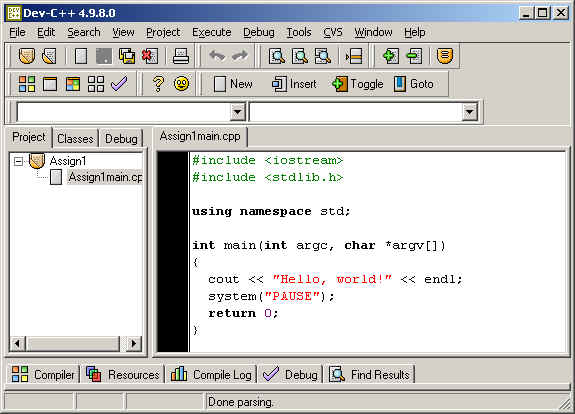
In the left pane, under "Assign1", click on "Assign1main.cpp". Then you see the content of the file in the right pane.
Now the procedure for compilation and execution is the same as the first case (Case 1 new file). Follow the direction from here.